How to photograph Fireworks
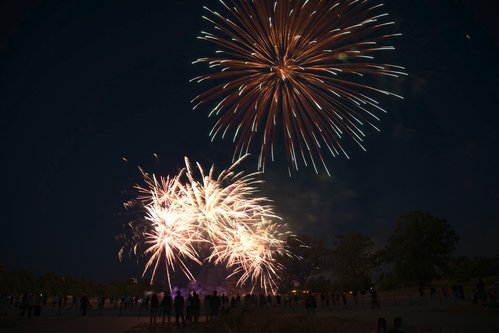
If you follow my Photo Blog (if you don’t I won’t blame you), you may have seen two recent entries with the 14th July fireworks took in two cities. Taking pictures of fireworks is quite easy actually, but if you wonder how to do it, here is how I proceed. This tutorial will be for Reflex or Hybrid cameras.
The equipment
Because you will take long exposition pictures, a tripod is mandatory. Regarding your tripod weight, you should weighting is a little by attaching your backpack to its center hook to keep it steady.
If you have a remote control for your camera, I suggest to use it to avoid the motion blur. If you don’t (I don’t have any, and Nikon’s smartphone remote control is a crap for this usage…), keep steady the tripod with your two hands (one on the support, one on the camera’s trigger).
I recommend using a wide angle lens (less than 30mm) because a fireworks scene can be very wide. My first fireworks was shoot with a 18-55mm lens mounted on a Nikon D5600, and the two last one were shot with a 24-70mm lens but on a Full Frame camera, the Nikon Z5, the difference is almost not noticeable.
The settings
The camera must be set to Manual control. Disable the Automated Sensitivity adjustment if enabled. I suggest also to reduce the screen brightness because you’ll be in the dark, so it will be more confortable.
Set the light sensitivity to the lowest, usually ISO 100.
I would also recommend to reduce the diaphragm (with the aperture setting). For the Lambersart fireworks, I was set at f8, and for Lille I was at f4. f4 was too opened because I had a lot of burned pictures, so reducing the diaphragm will allow you to take longer exposed pictures and have good shots of the most bright explosions. Of course, you should adapt these values to your equipment and your lens limitations.
Reminder about the diaphragm : The higher is the number, the lower is opened the lens.
The shutter speed should be set to “Bulb”, meaning the shutter will remain opened until you release the trigger button.
Finally, switch to Manual focus and set to “Infinite” mode and you should be good.
Find a good spot
You should find a good clear spot without trees or buildings or light pollution. During the fireworks, the cities usually shutdown the public lighting but there are still people using their smartphone LED to light their path while they walking, so try to avoid them. If your in a crowded place, try to be away from it.
Don’t be too close to the launch place because you would have to move your camera and may miss some parts of the show. For Lille’s fireworks, I was a little too close to the launchpad, I had to adapt my angle.
If your tripod has a mobile head, it’ll be helpful for quick angle readjustment.
For the scenery, having people in front can produce a very nice panorama and immersive perspectives, example below.
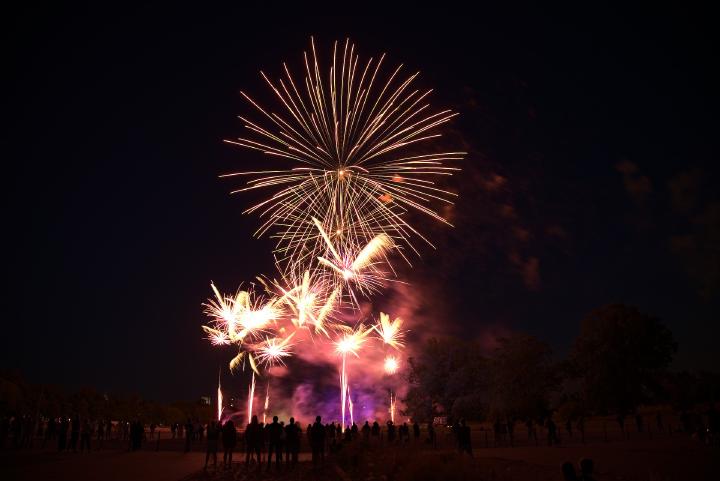
f/4 - 24mm - 1.6 - ISO 100
NIKON Z 5 Nikkor Z 24-70mm f/4 S
Seb - 2022-07-14 23:10:37 +0200 CEST - Creative Commons Attribution-ShareAlike (CC BY-SA)
Start shooting
The most difficult part of the exercice is to anticipate the detonation in order to take the explosion at the right moment.
Try to follow the rockets trails and you will quickly learn to anticipate their detonation.
Maintain the trigger button pushed until you think it’s good. Don’t maintain it too long, despite being in the night, a fireworks can quickly become very bright so your picture will be burned.
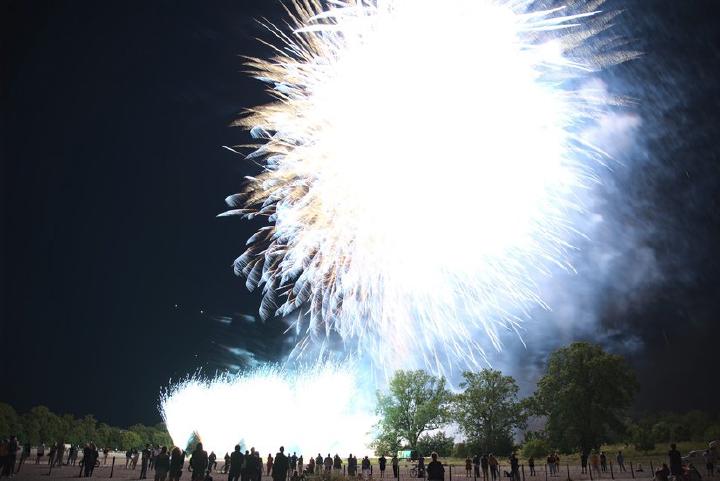
f/4 - 24mm - 1.6 - ISO 100
NIKON Z 5 Nikkor Z 24-70mm f/4 S
Seb - 2022-07-14 23:19:01 +0200 CEST - Creative Commons Attribution-ShareAlike (CC BY-SA)
I must admit it’s more instinct than technical for taking the shots. You’ll get the trick with the experience.
Try to use the short pauses during the launches to check your last shot on your camera, but don’t waste too much time for this during the frenzy or you’ll miss the show.
Enjoy the show
Unless you’re a professional making a coverage of the fireworks, remember this is a rare event (in this case : one time a year), so enjoy it.
You’ll take by instinct a lot of pictures and learn to quickly adjust the angle of your camera to ensure you have all the scenery, while you enjoying it. And prepare yourself to trash 50% of your pictures.
So, enjoy it, that’s the priority to create good memories to be reminded by the pictures and not viewing them later as if you were not actually here.
I don’t know if it’s a real thing or not, but in 2013 a psychological study said that taking pictures wasn’t helping to create actual memory of the subject. With that in mind, I’ve took the habit to first staring at the scenery and let it inspire myself. Then, I take my pictures. Of course during a quick run event like this, it’s more complicated, but I’ve tried to remain focused on the event.
Raw development
Now you have filled your memory card with your pictures, it’s time to develop them. I’m using Darktable, so I won’t write about any other software I don’t know about. First, expect to reject a lot of entries.
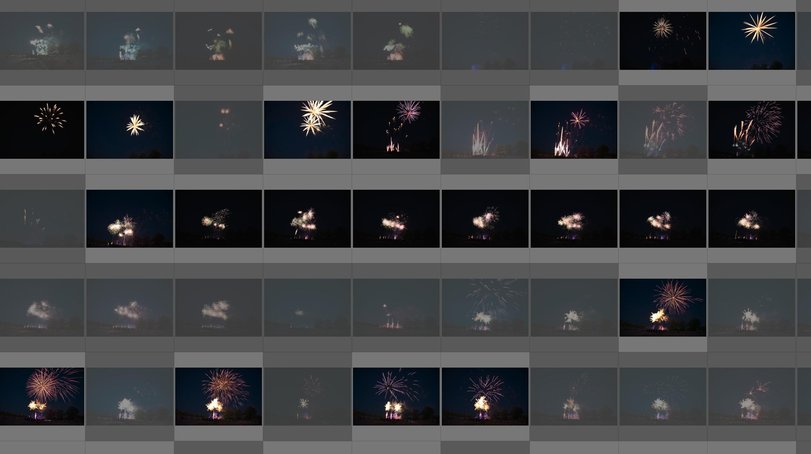
For Lille’s fireworks, I’ve took around 550 pictures, I’ve rejected half of them for many reasons : I don’t like, it’s not what I want, too burned, taken too late or too soon, etc. That’s clearly up to you and your tastes.
You can play with the Exposure if the picture is not too much burned. Also, the Filmic RGB filter can reduce the ambiant light and focus on the fireworks by reducing the surrounding elements (like the people and the sky). The Haze Removal can reduce a little the smoke but not that much.
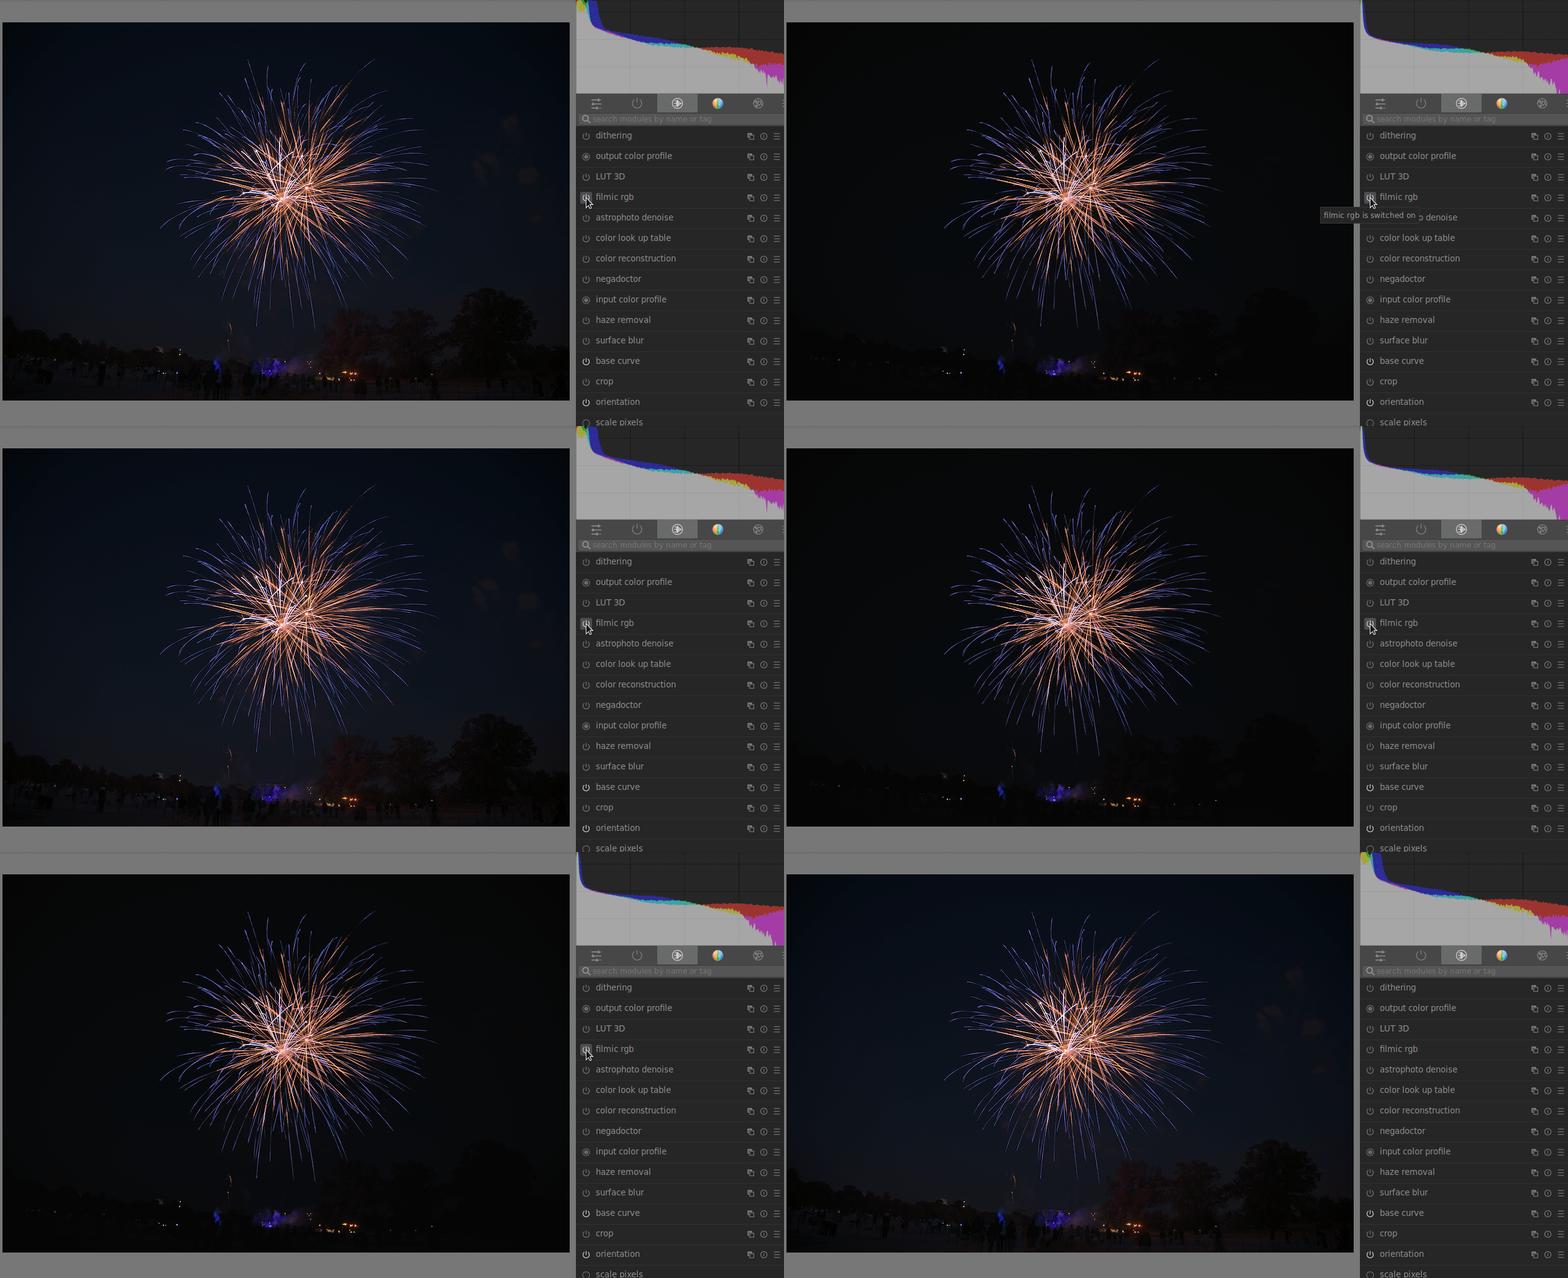
To my current experience, fireworks pictures don’t require a lot of post processing.
Conclusion
As you can see, taking fireworks pictures is quite easy and the only tricky part is to know when triggering the button and how long. If you have some experience and some tips to share, don’t hesitate to send me a feedback.
