Repair an Asus Laptop
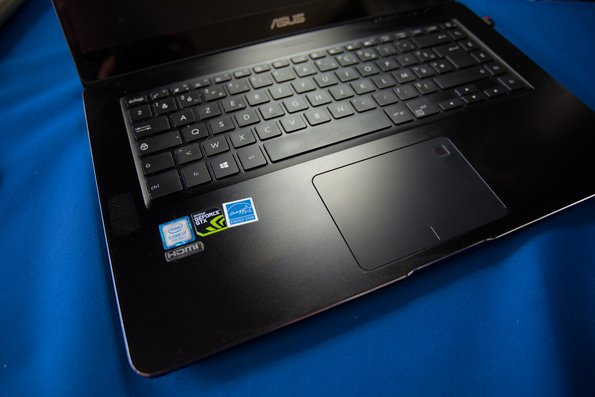
Let me introduce you my travel computer : an ASUSPRO Zenbook Pro UX550VD-BO098RB, bought in 2018 for work and later replaced by a Tuxedo Aura 15 Gen-1 for this usage. Since the Asus remained a good machine, I’ve used it for various tinkering, mobility requirement, and during travels.
It’s also one of the first machine I’ve installed Manjaro Linux on it. Good point, Manjaro worked better than Fedora on it and the Nvidia drivers got installed by themselves. The only problem was the internal sound system that could not be adjusted, the speakers remained at 0 or 100%. Another sound device such as a headset or Bluetooth speaker worked with no problem. This issue was also present on Fedora.
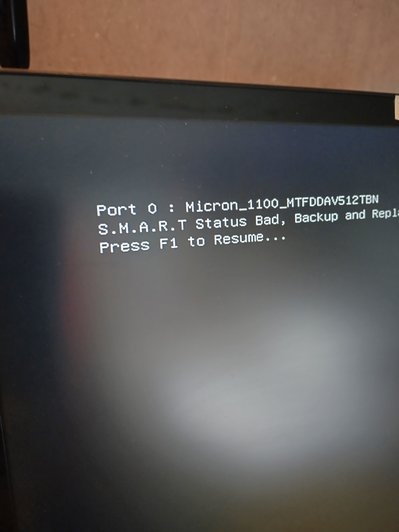
However, its battery shown some weakness shortly after I’ve stopped to use it for work. And more recently, during my Amsterdam travel, it’s the SSD who started to die with a S.M.A.R.T. alert on startup.
Fortunately, this laptop is basically an empty shell. Its data are sync’ed from my kDrive account and it had nothing to save.
So, I think it was a good time to try to save this 4 years laptop that cost me 1400€. Seeing it slowly dying like this has been quite a disappointment for an Asus product in my opinion. I was also worried about the possibility to change the SSD since it’s a thin model and I’ve was fearing the battery and the SSD to blue hard fixed (glued or whatever).
Tools requirement
To open the back case, you’ll need a Torx T7 screwdriver.
The battery and the SSD are fixed with Philips cruciform screws.
Spare parts ordered
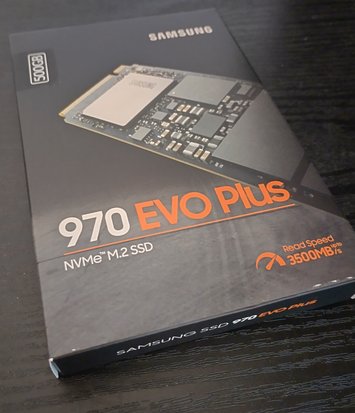
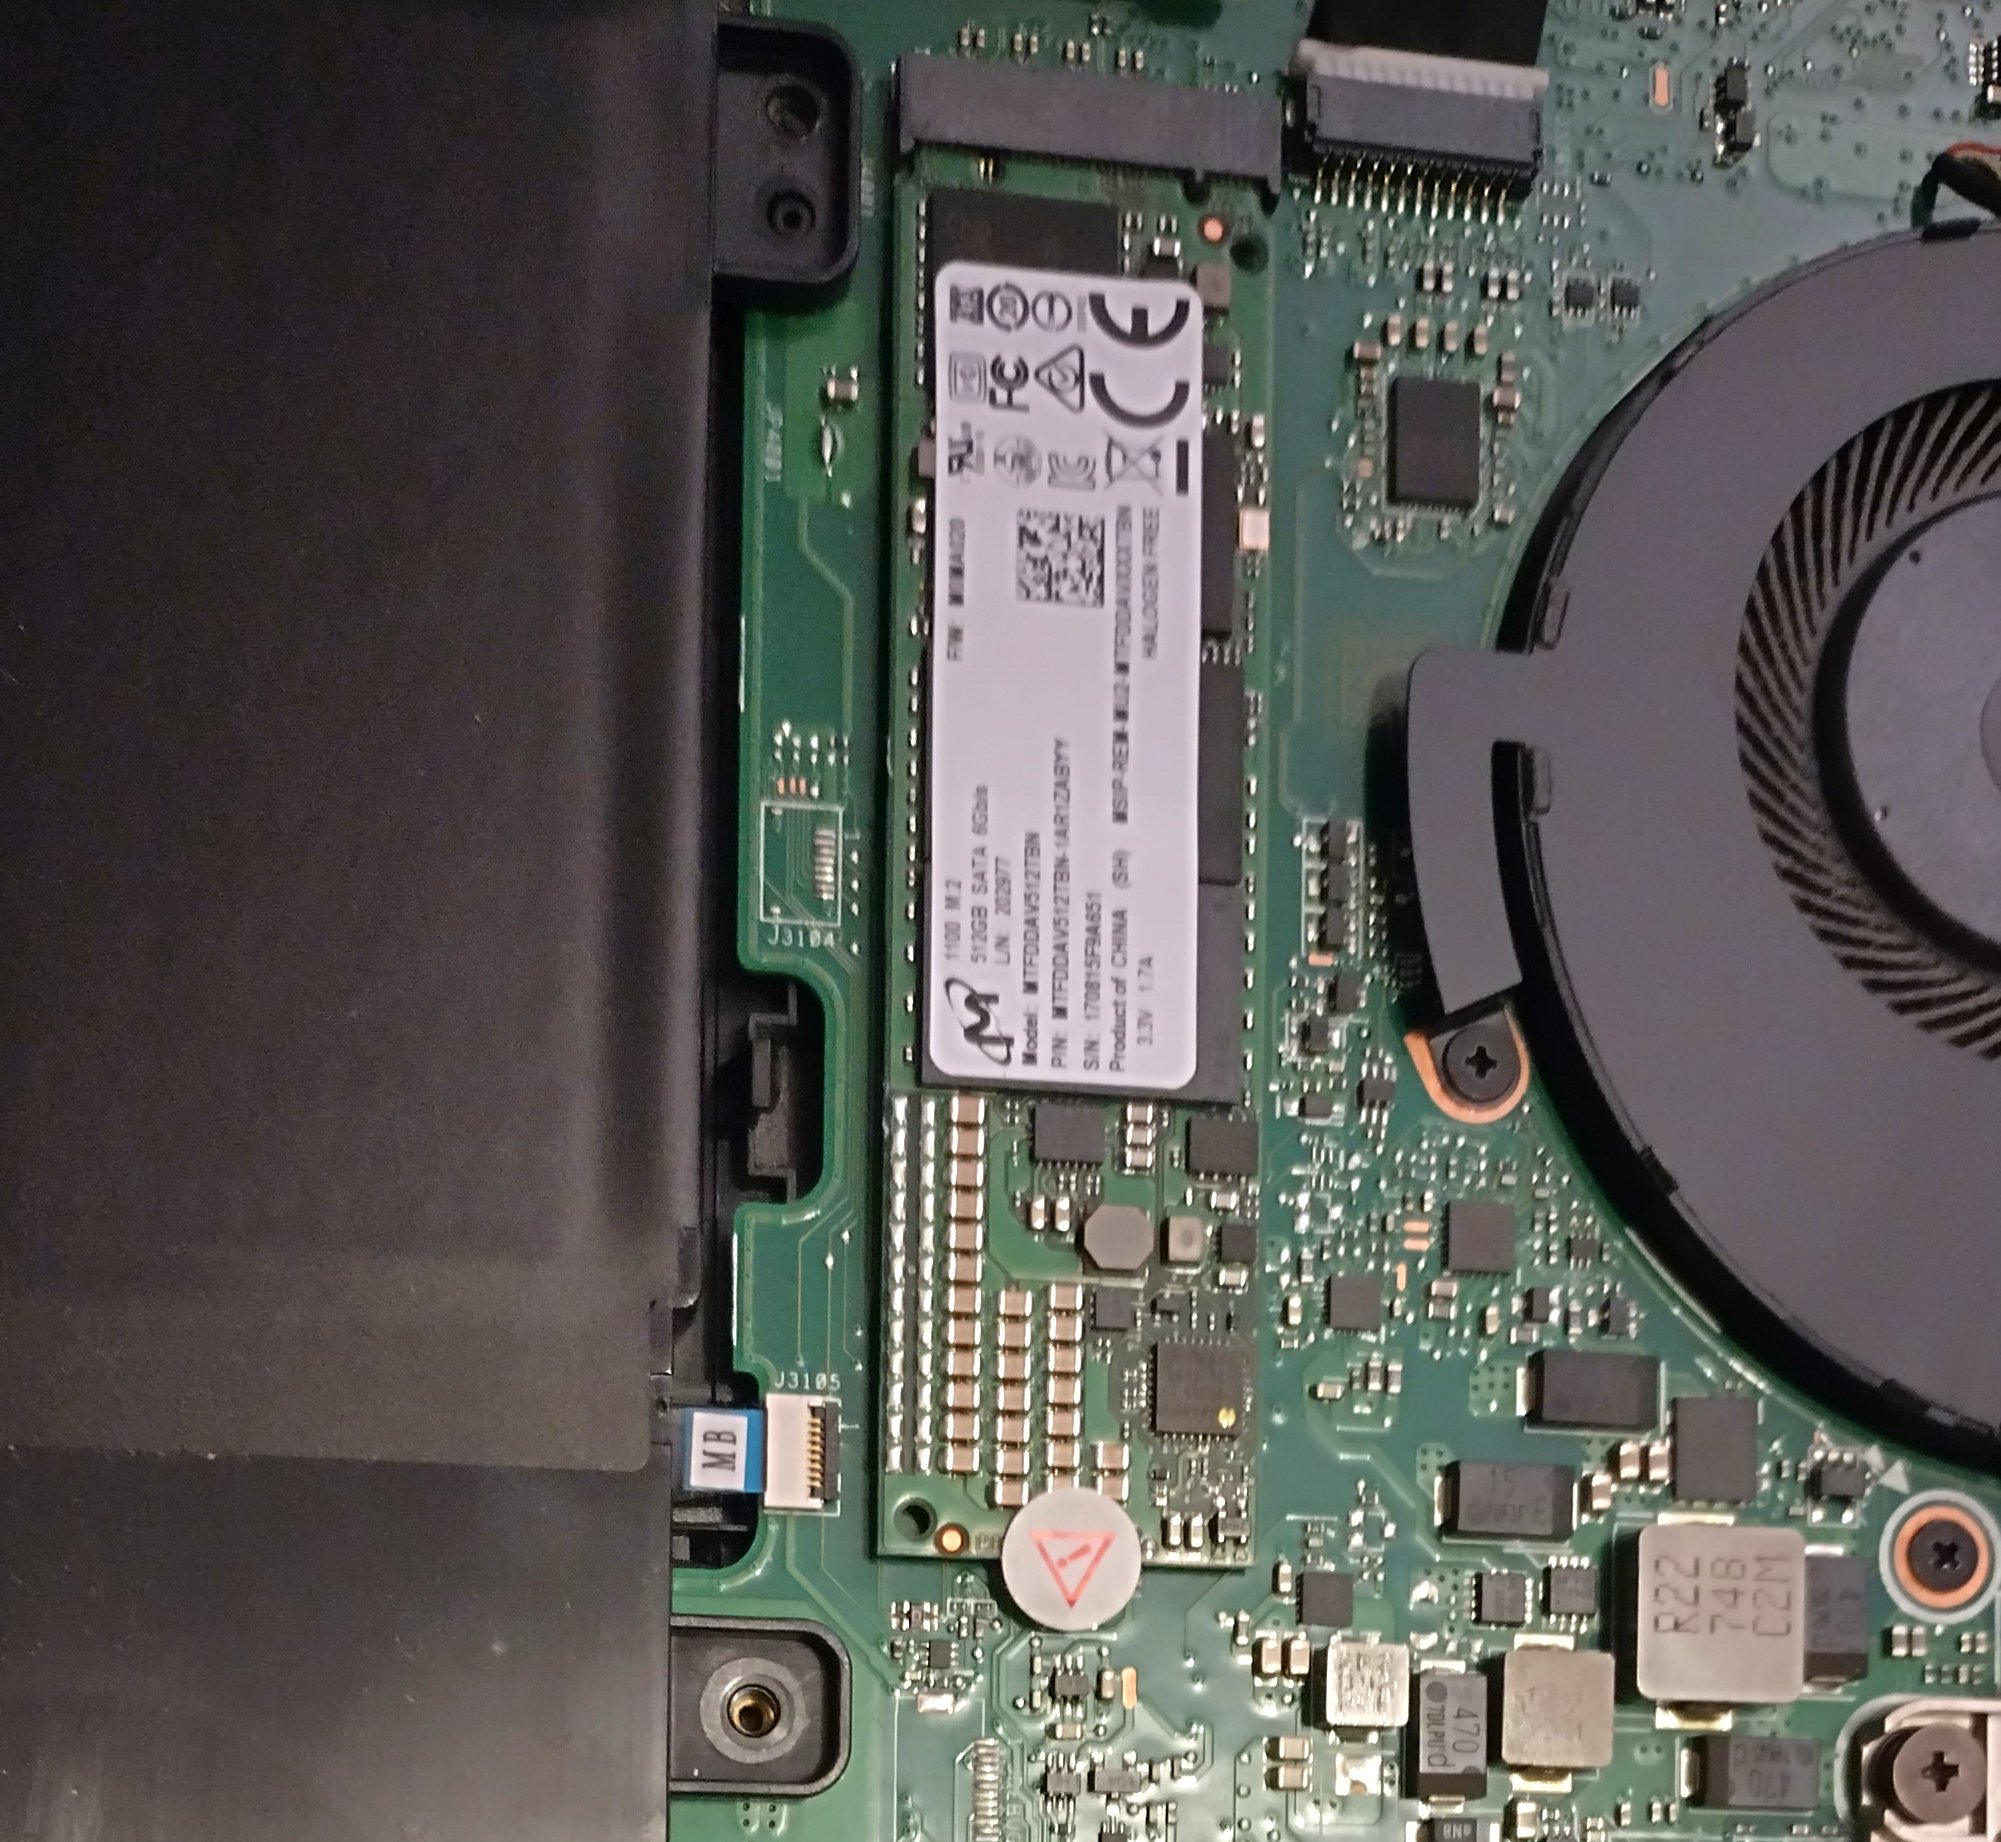
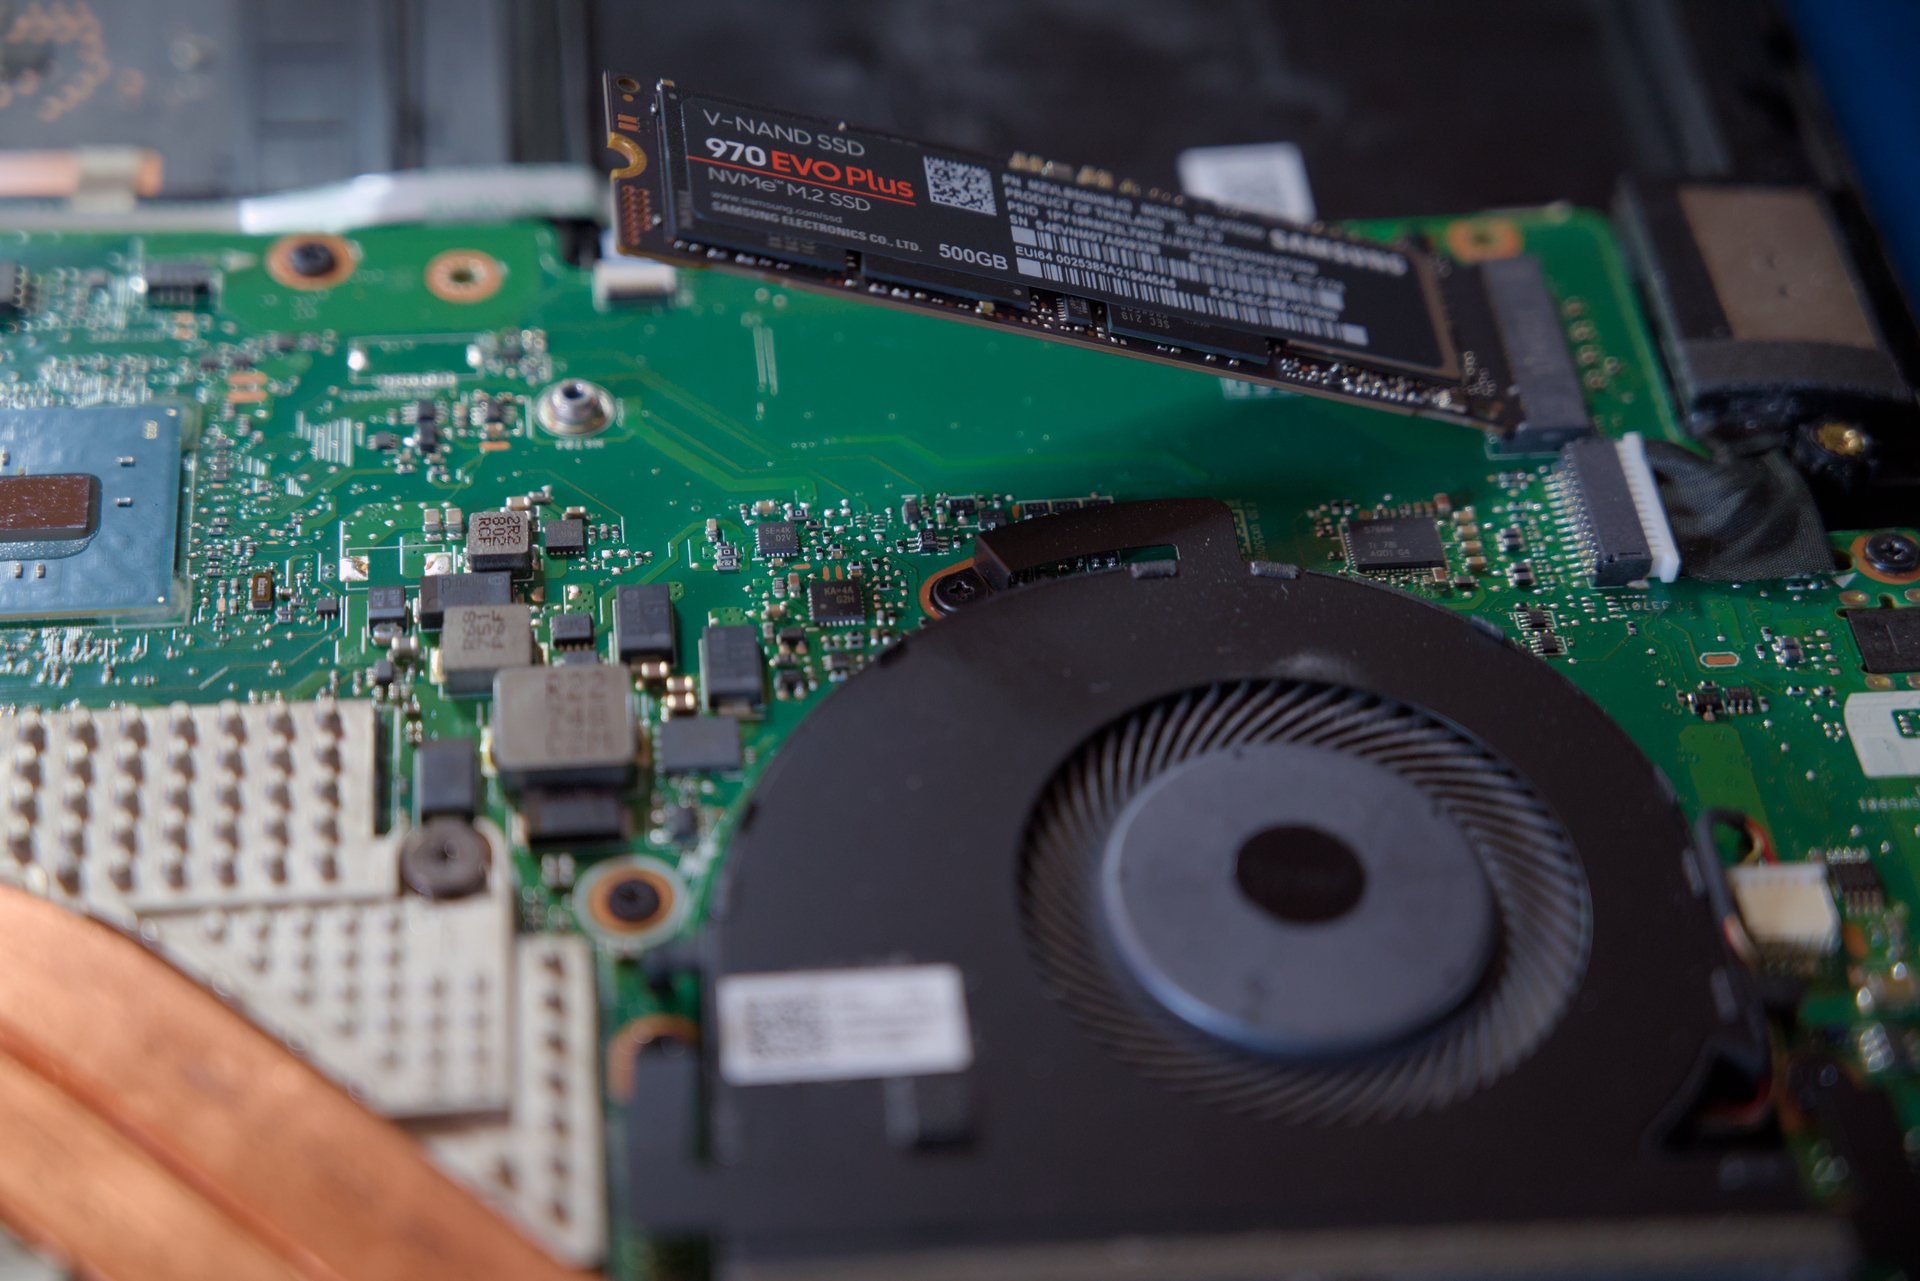
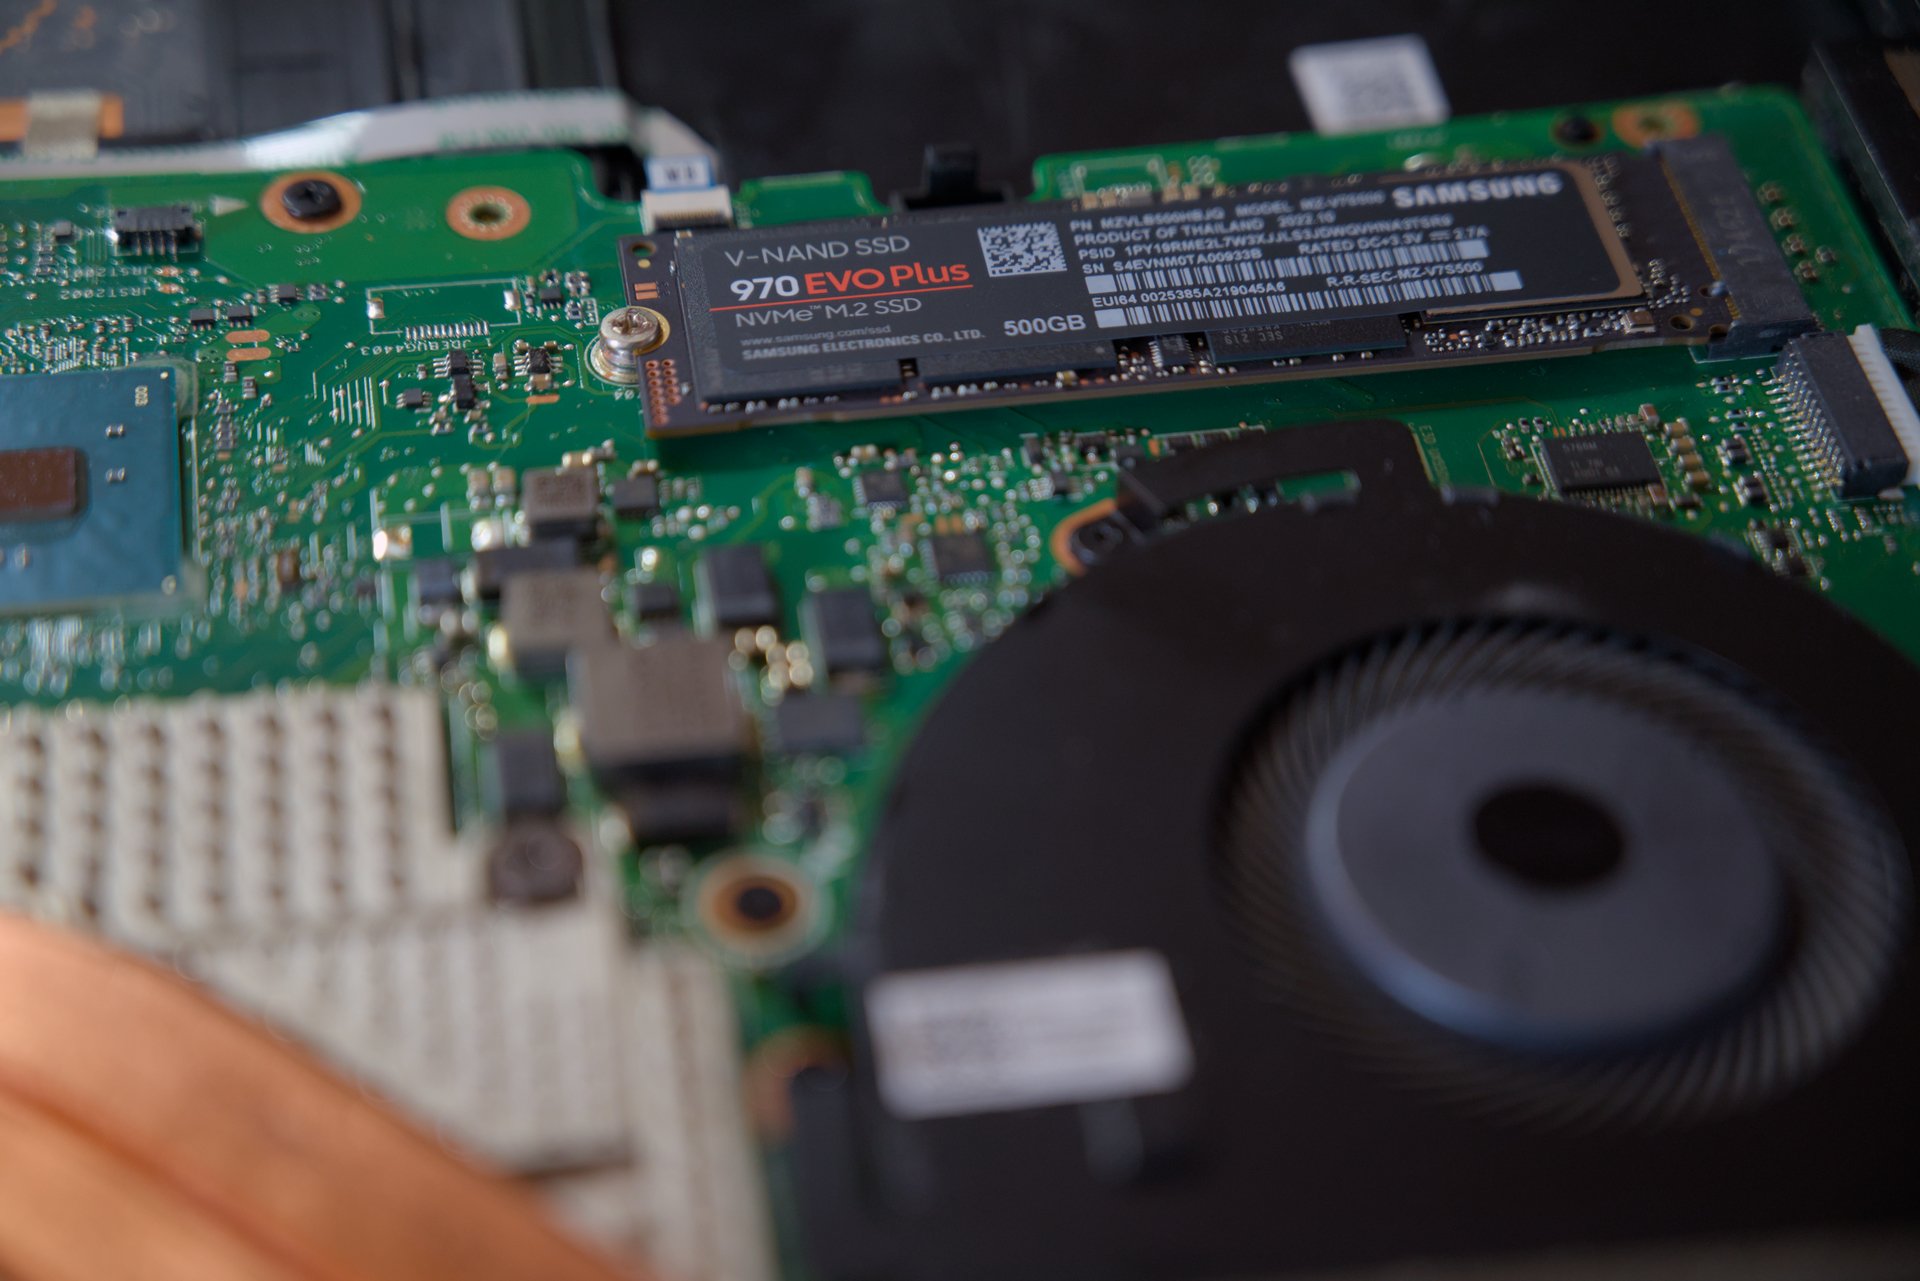
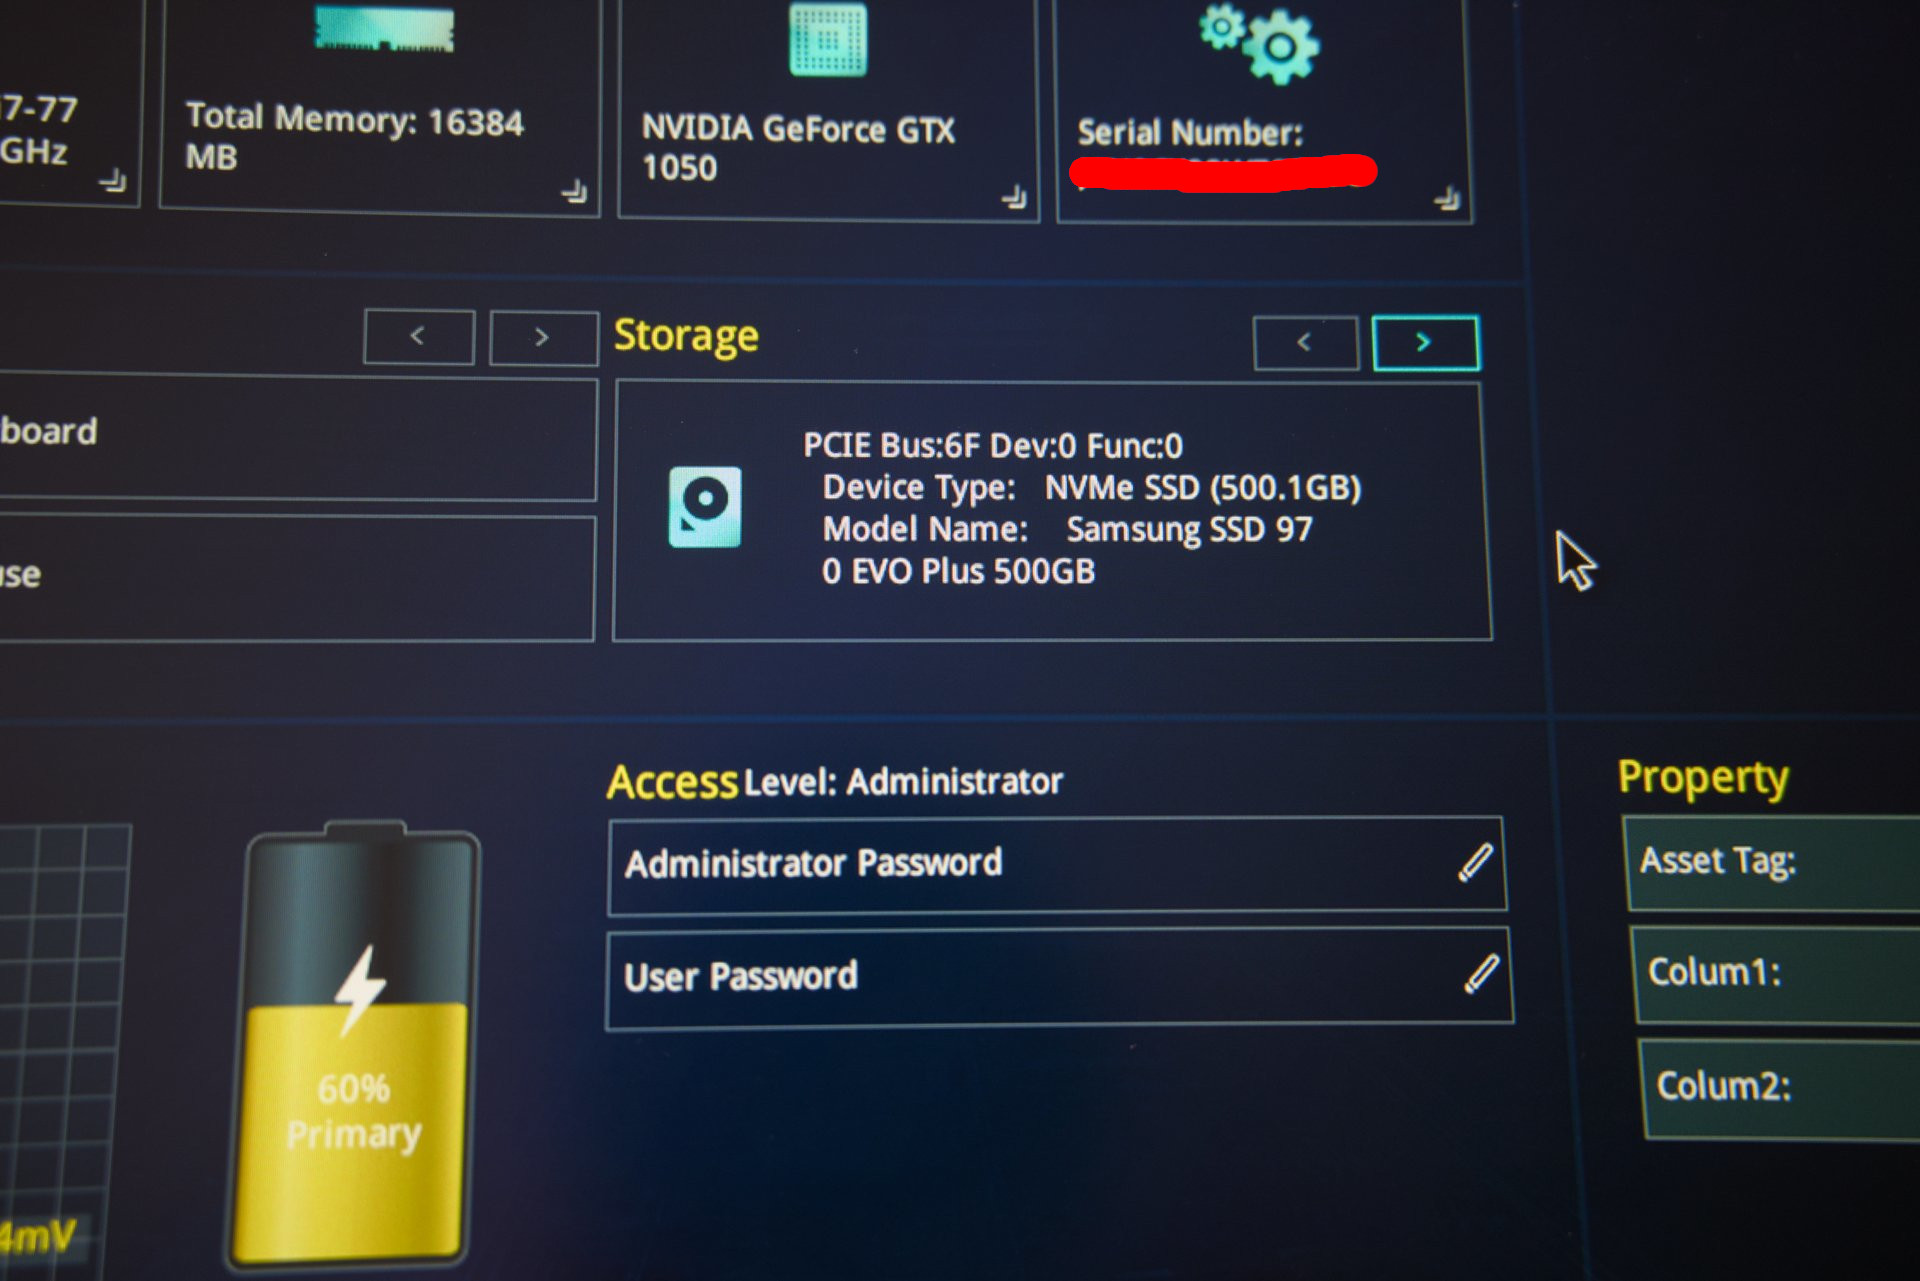
One NVME SSD, I’ve choose a Samsung SSD 970 EVO PLUS 500GB to replace the original Micron 512GB SSD. Cost : less than 60€ including the delivery. In my life, I’ve had Corsair, Crucial, Kingstom and Samsung SSDs and never had to complain for each of them. According to a message I’ve received on Fosstodon, Micron SSD are fine but unfortunately, the only one I’ve ever had died prematurely. Let’s say it’s bad luck.
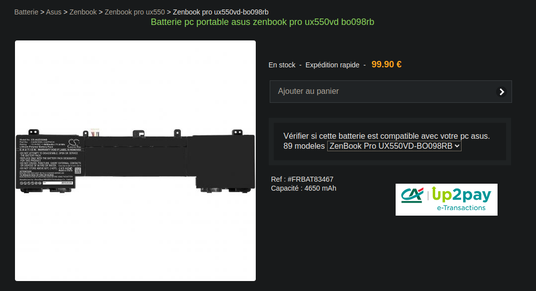
For the battery, I’ve found a French retailer who proposed the same model. Cost : 99€, no delivery fees.
Open the laptop
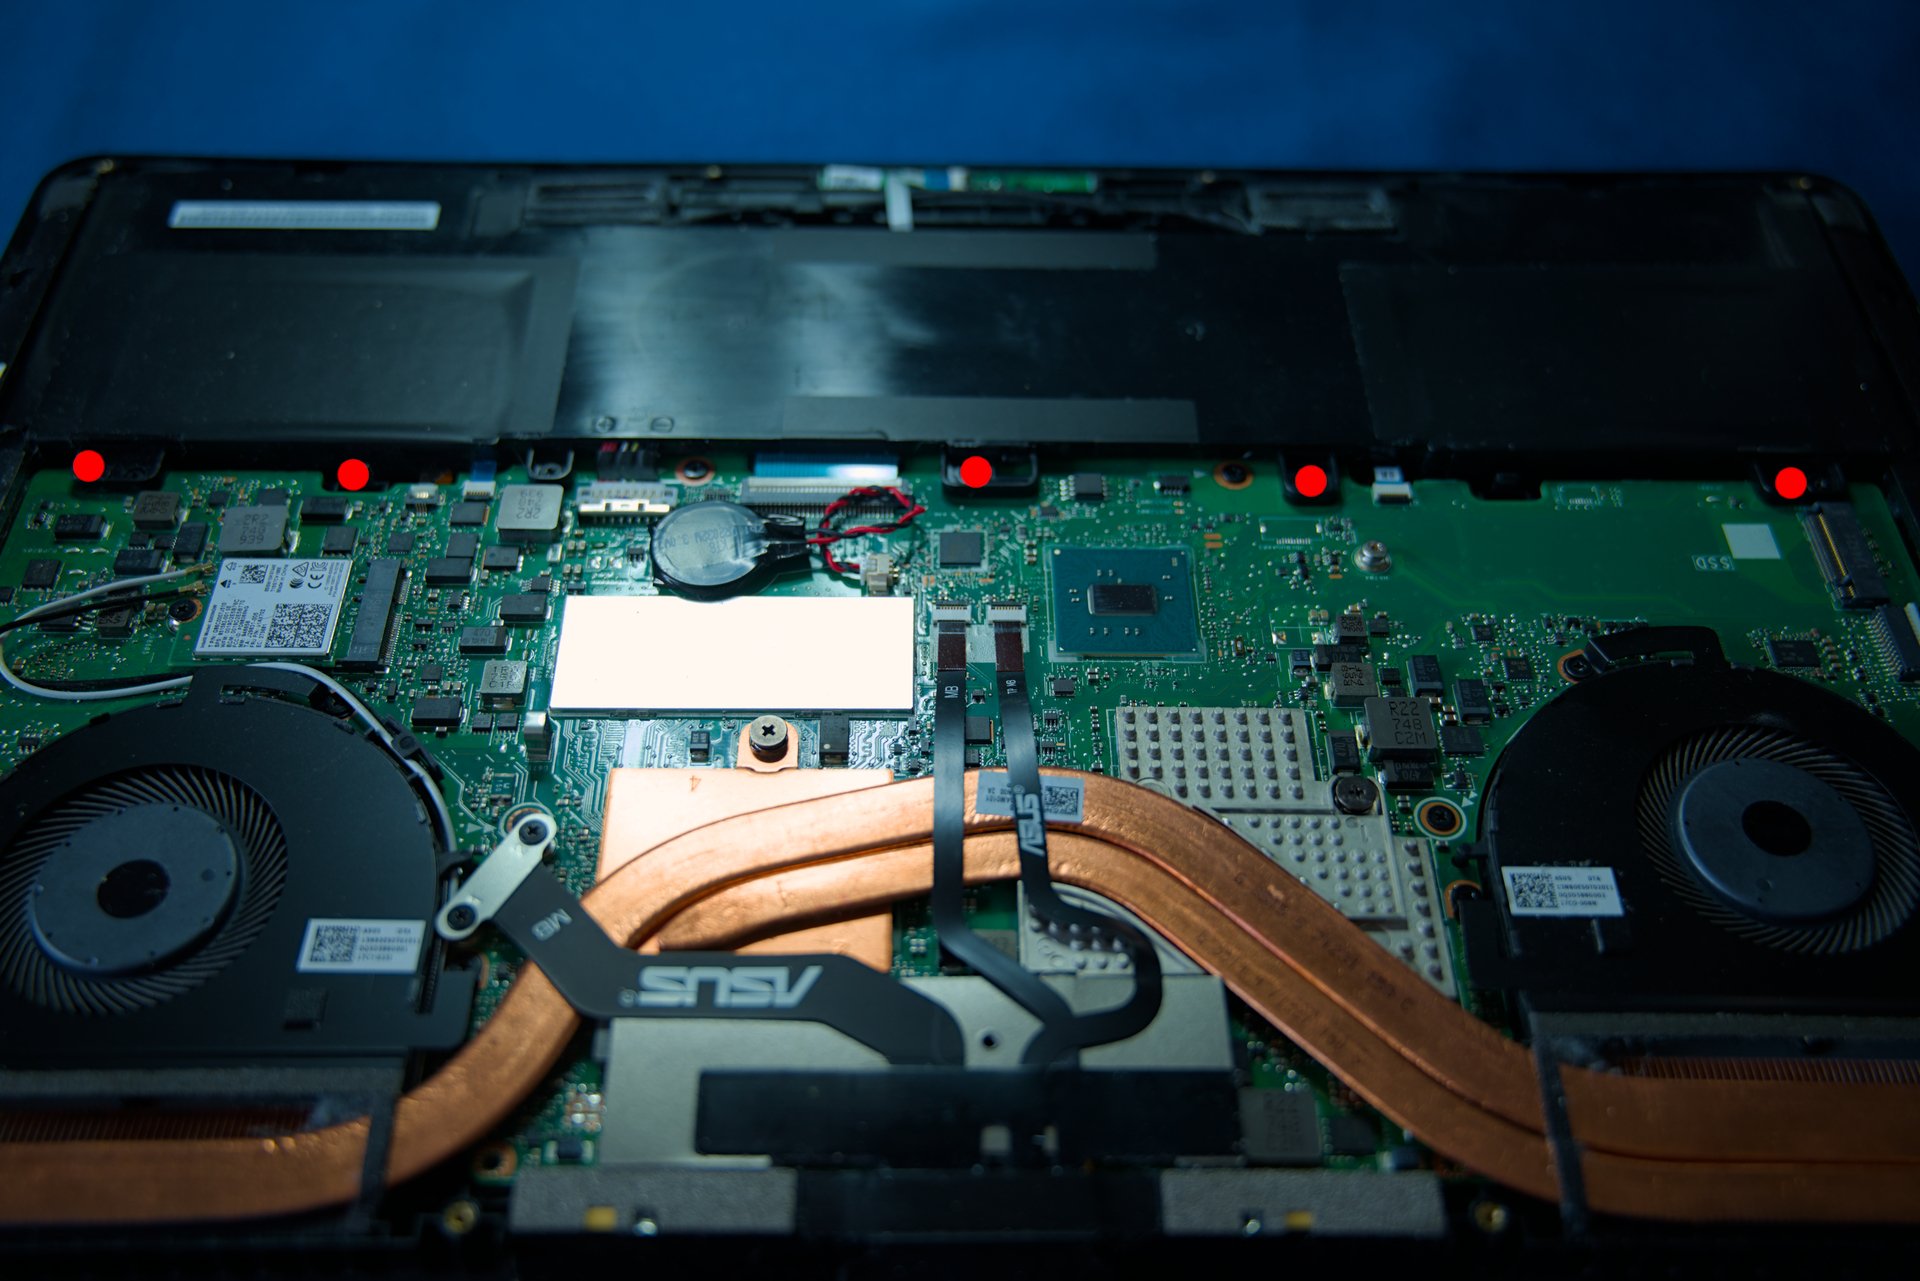
The good news is there are no hidden screws, everything you see on the back of the laptop is enough to open it. No need to remove the rubbers or stickers.
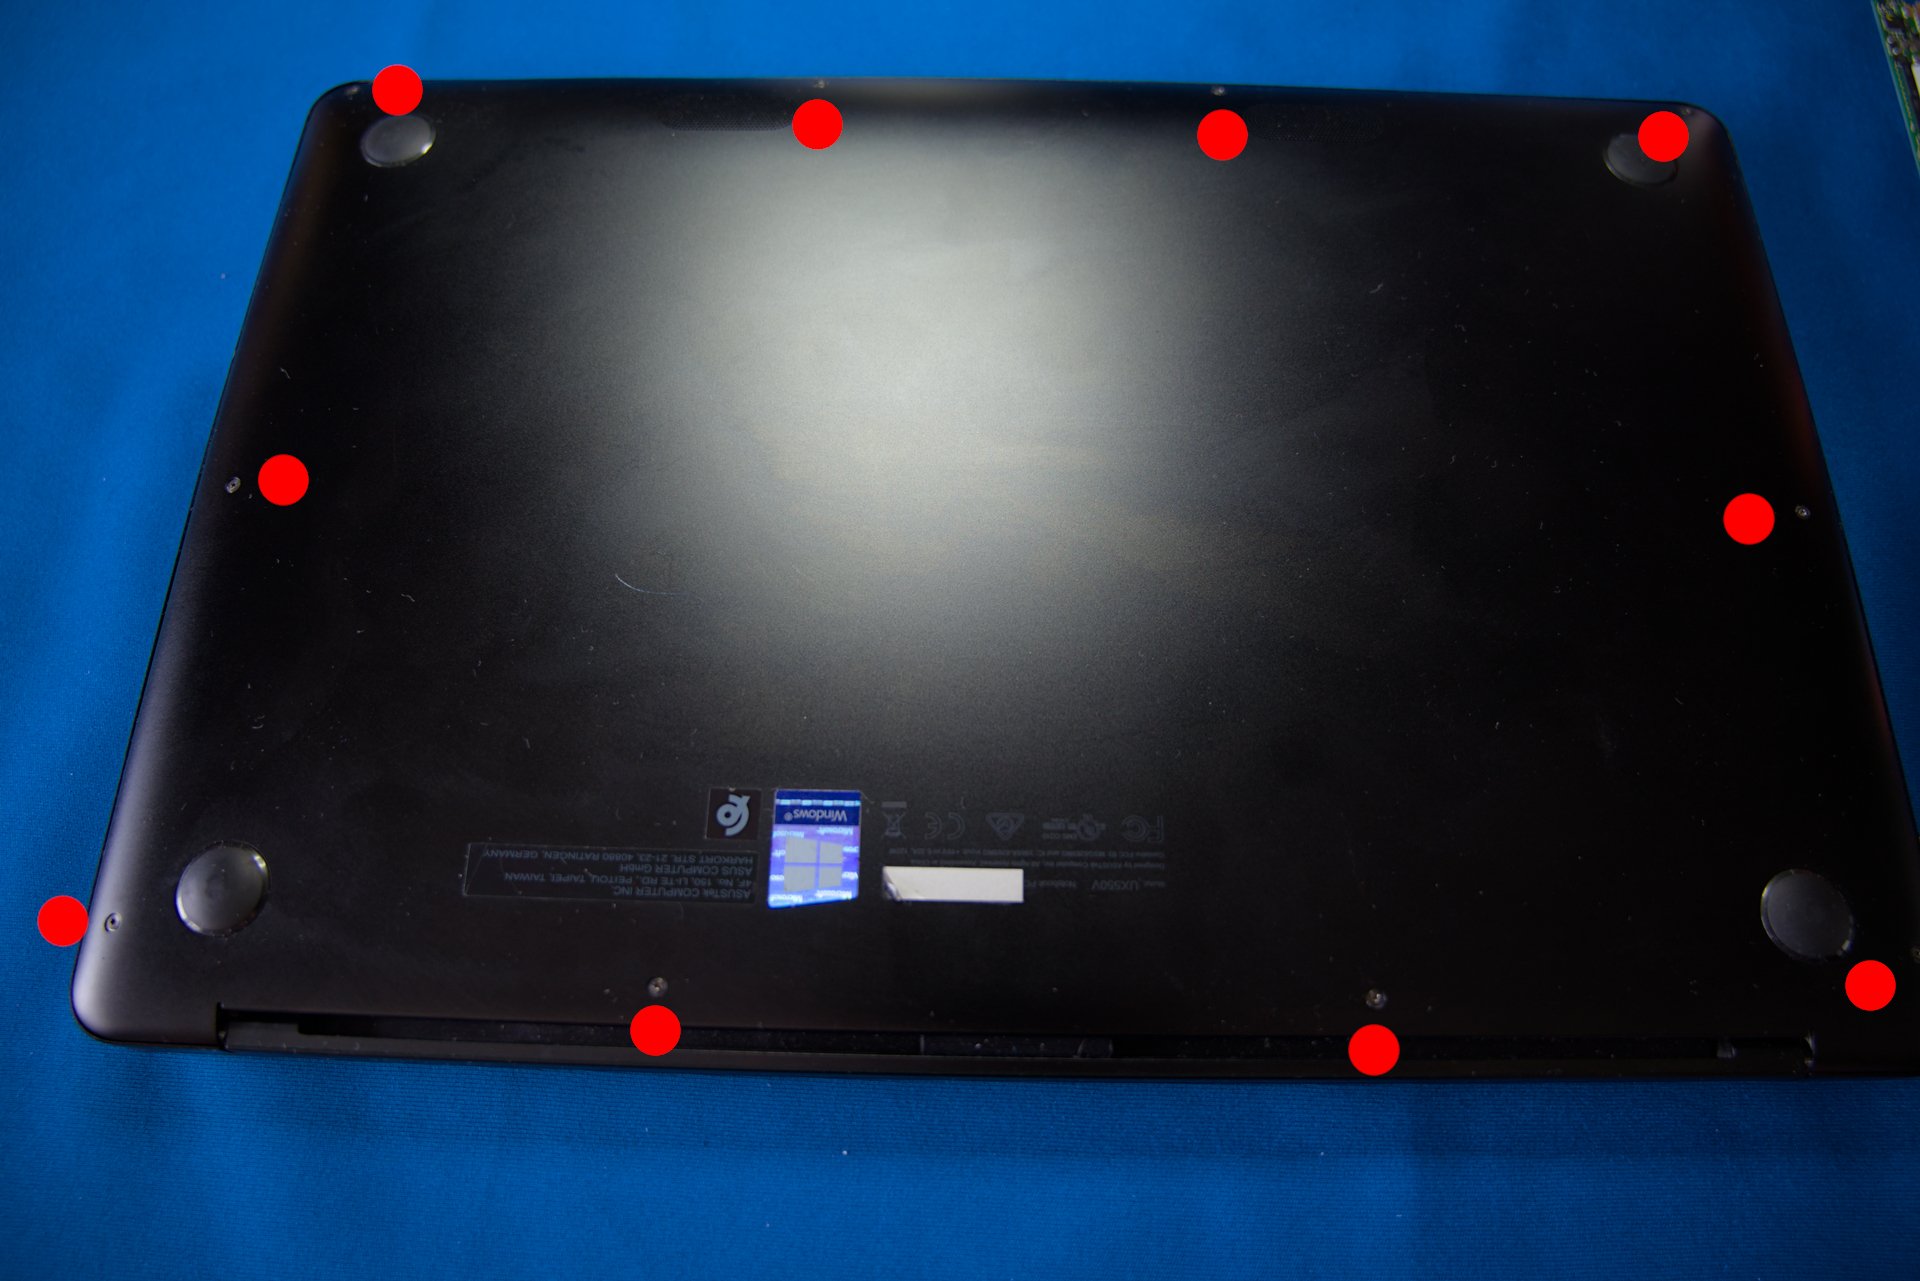
So, you just need to remove the 10 screws around the case.
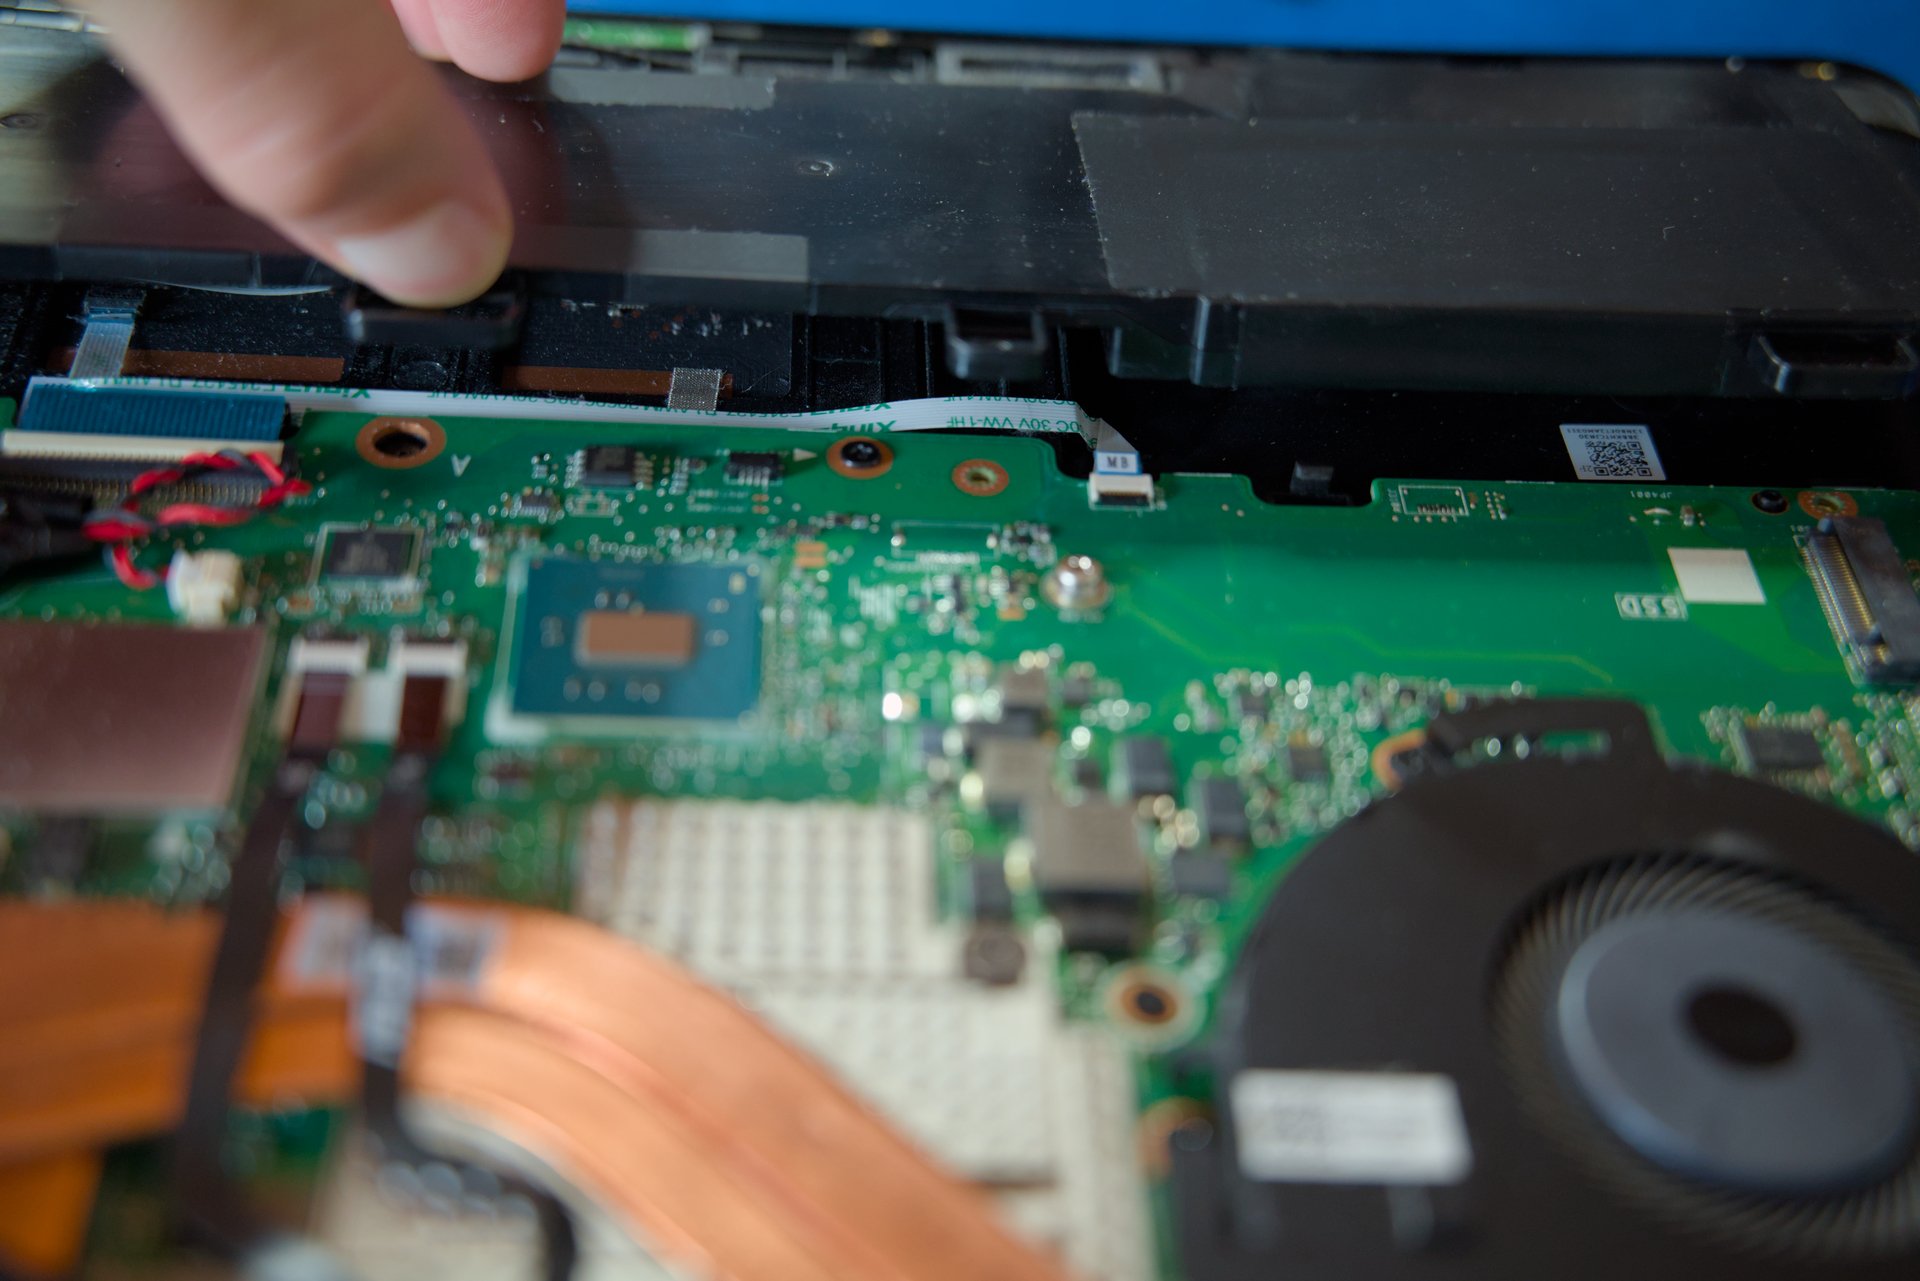
After this, ensure the screen joint is in front of you and gently pull away the cover. You can use a credit card or something like this to as a lever. Don’t try to insert it, that’s not necessary. Just push up to untie the cover.
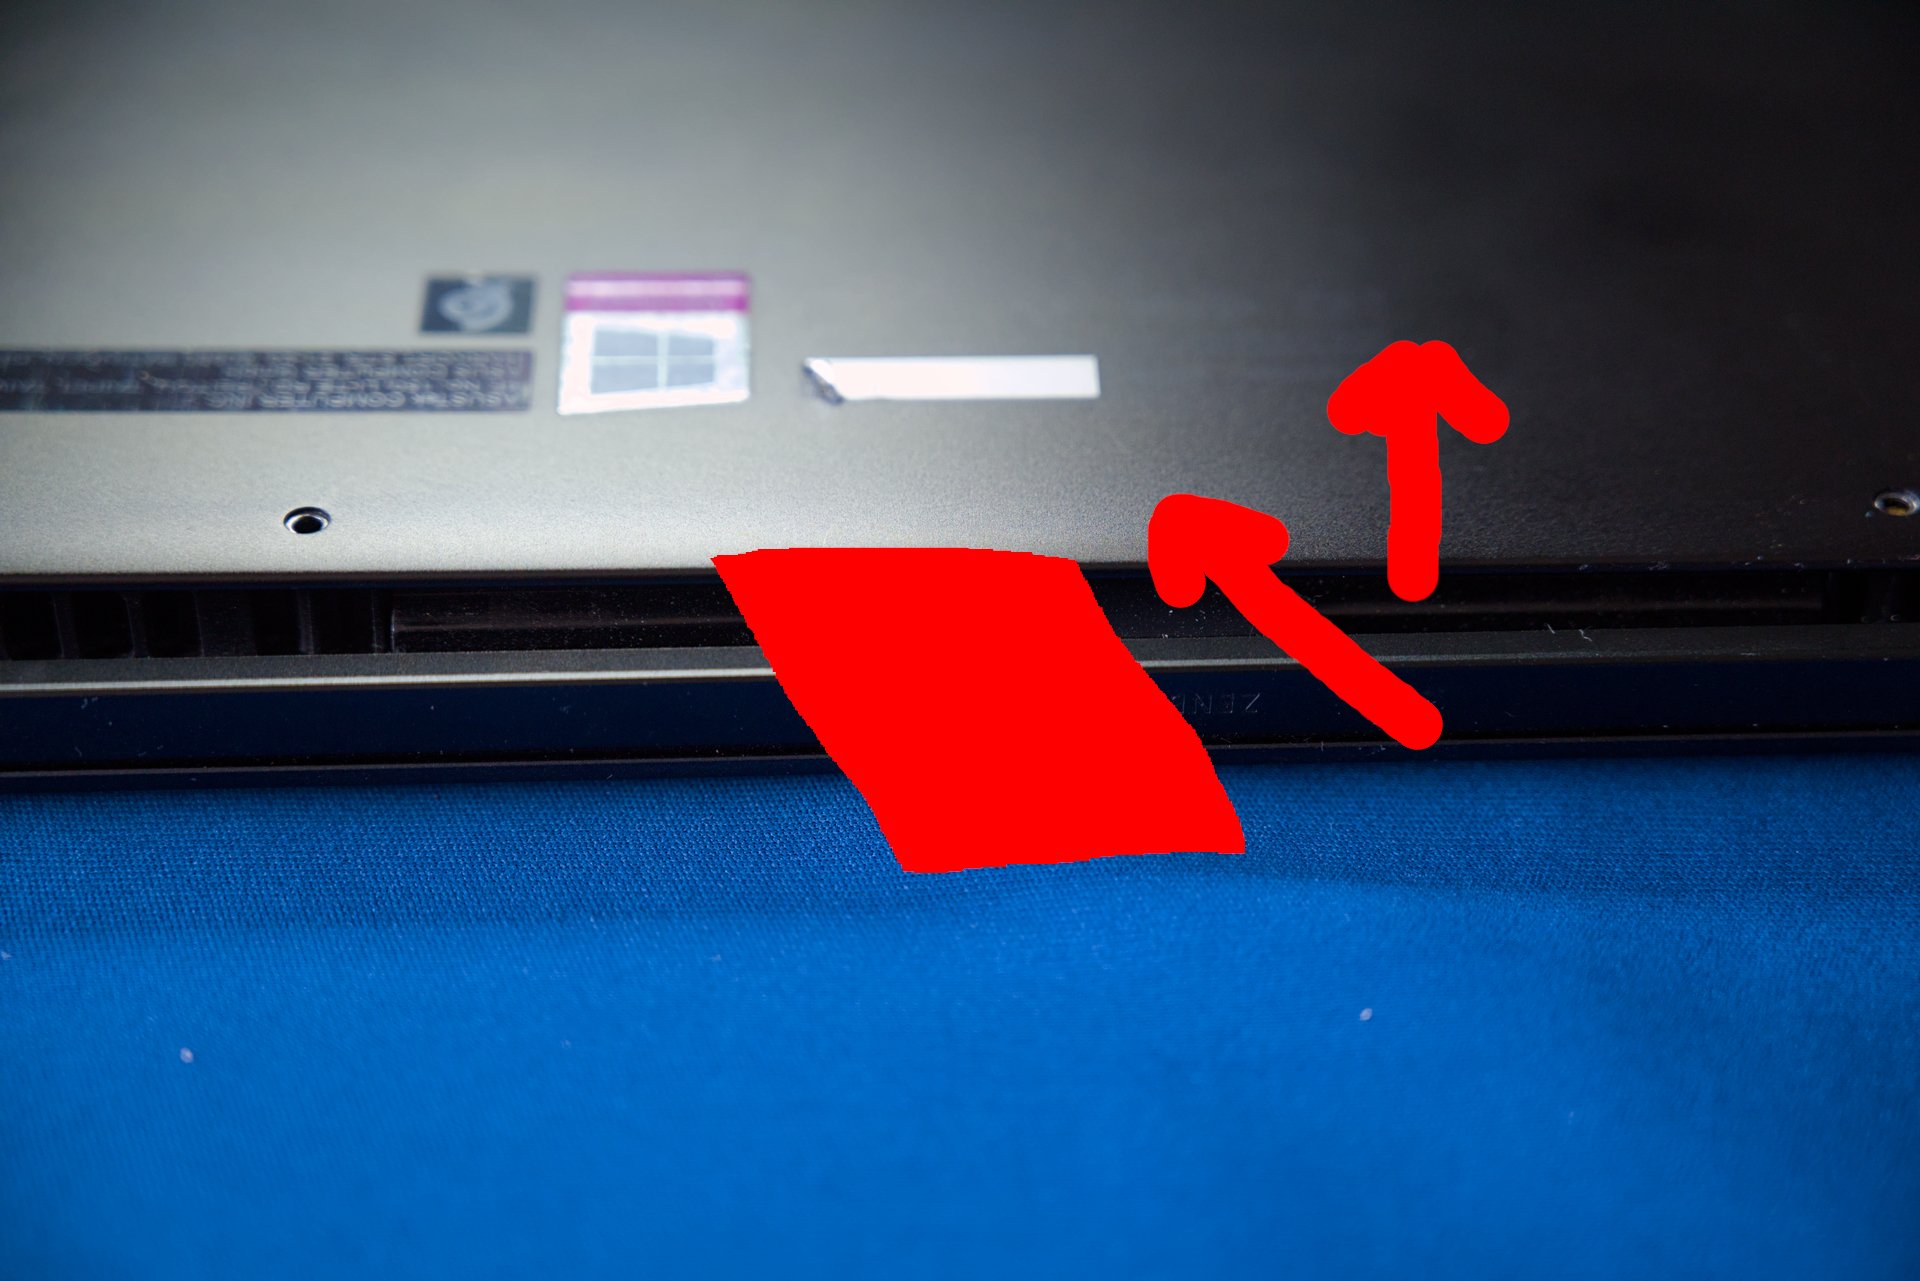
I hope you enjoy my awesome GIMP skill.
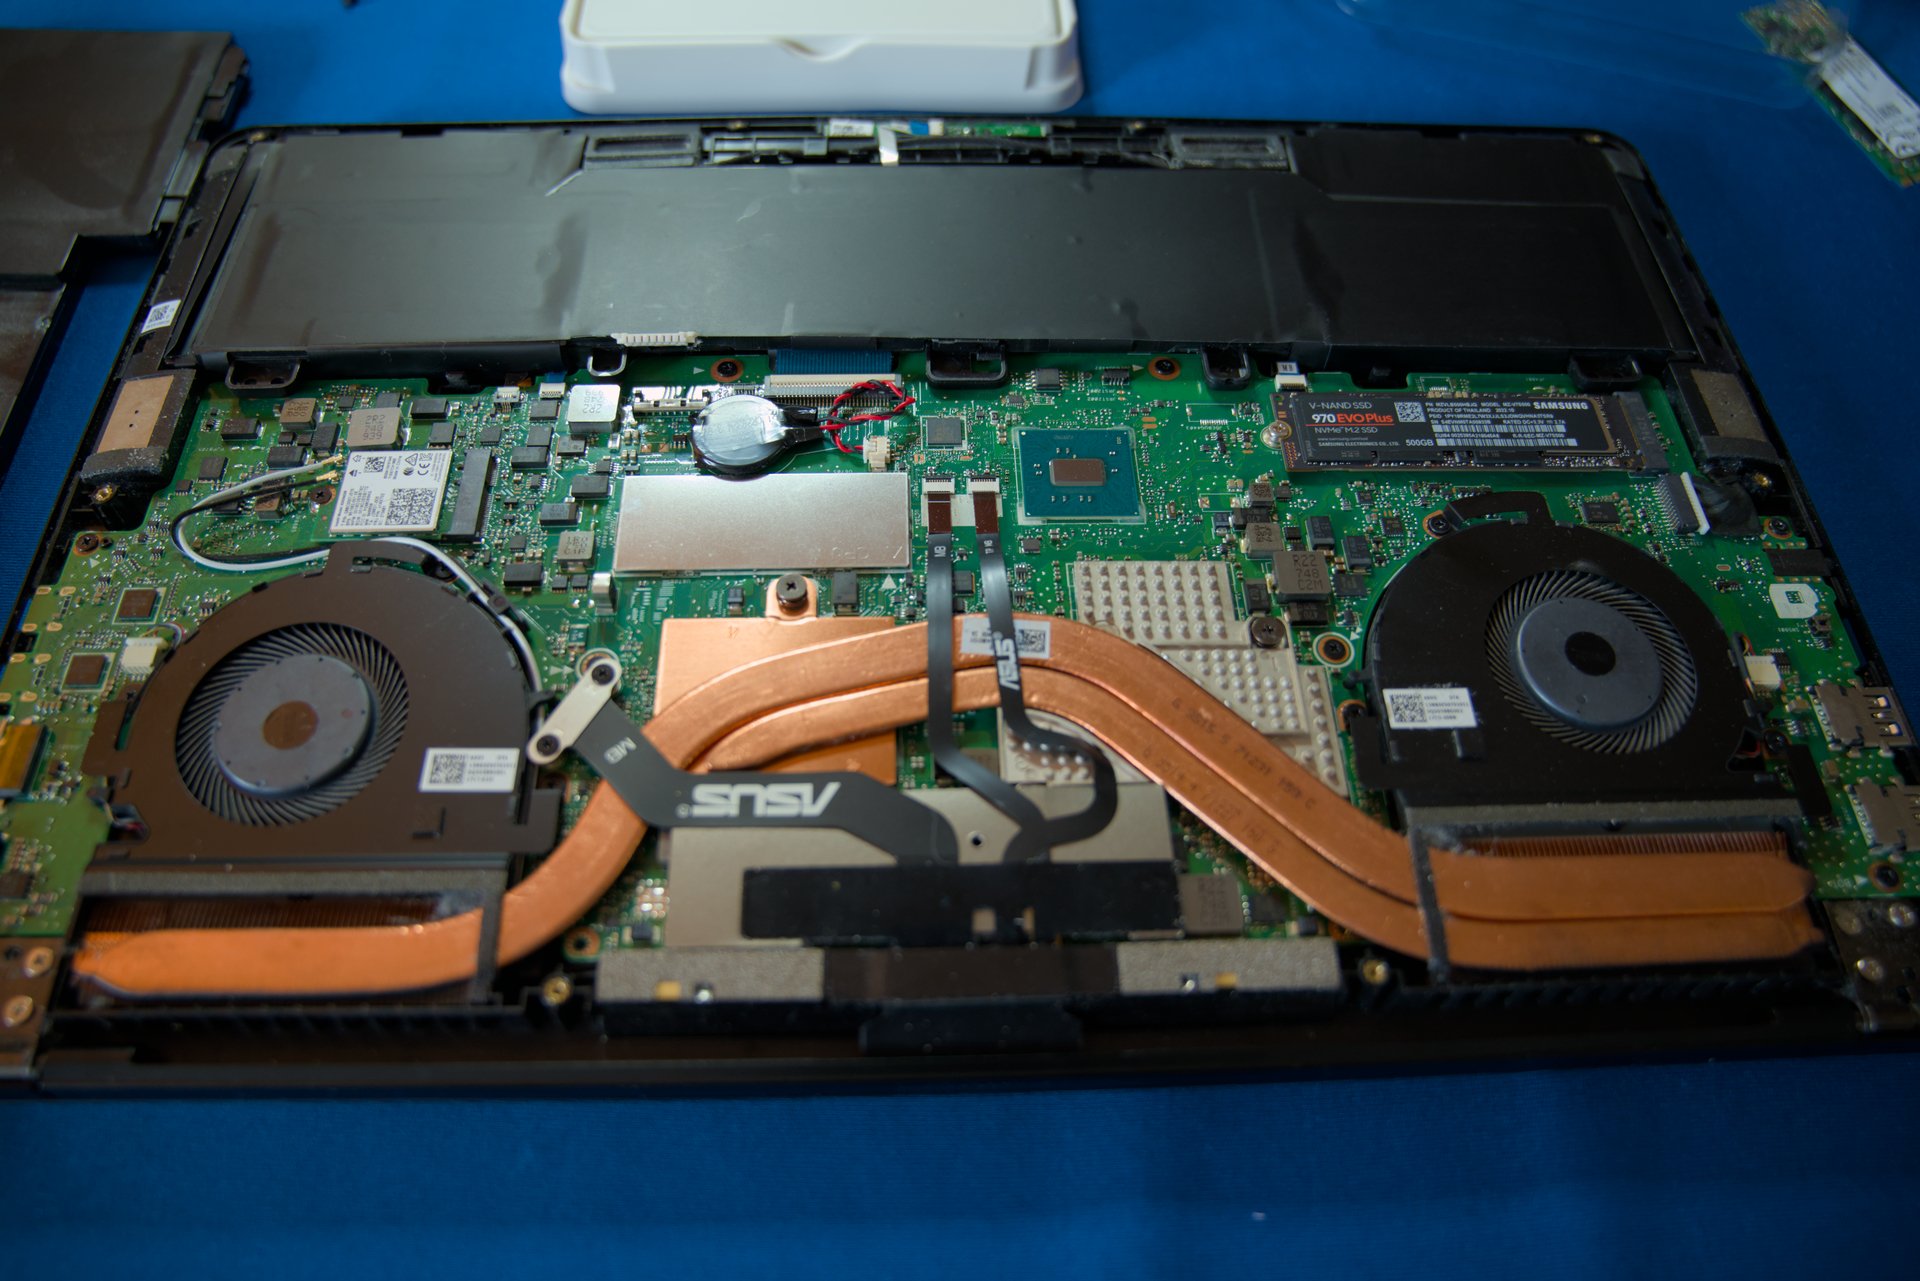
And here we are !
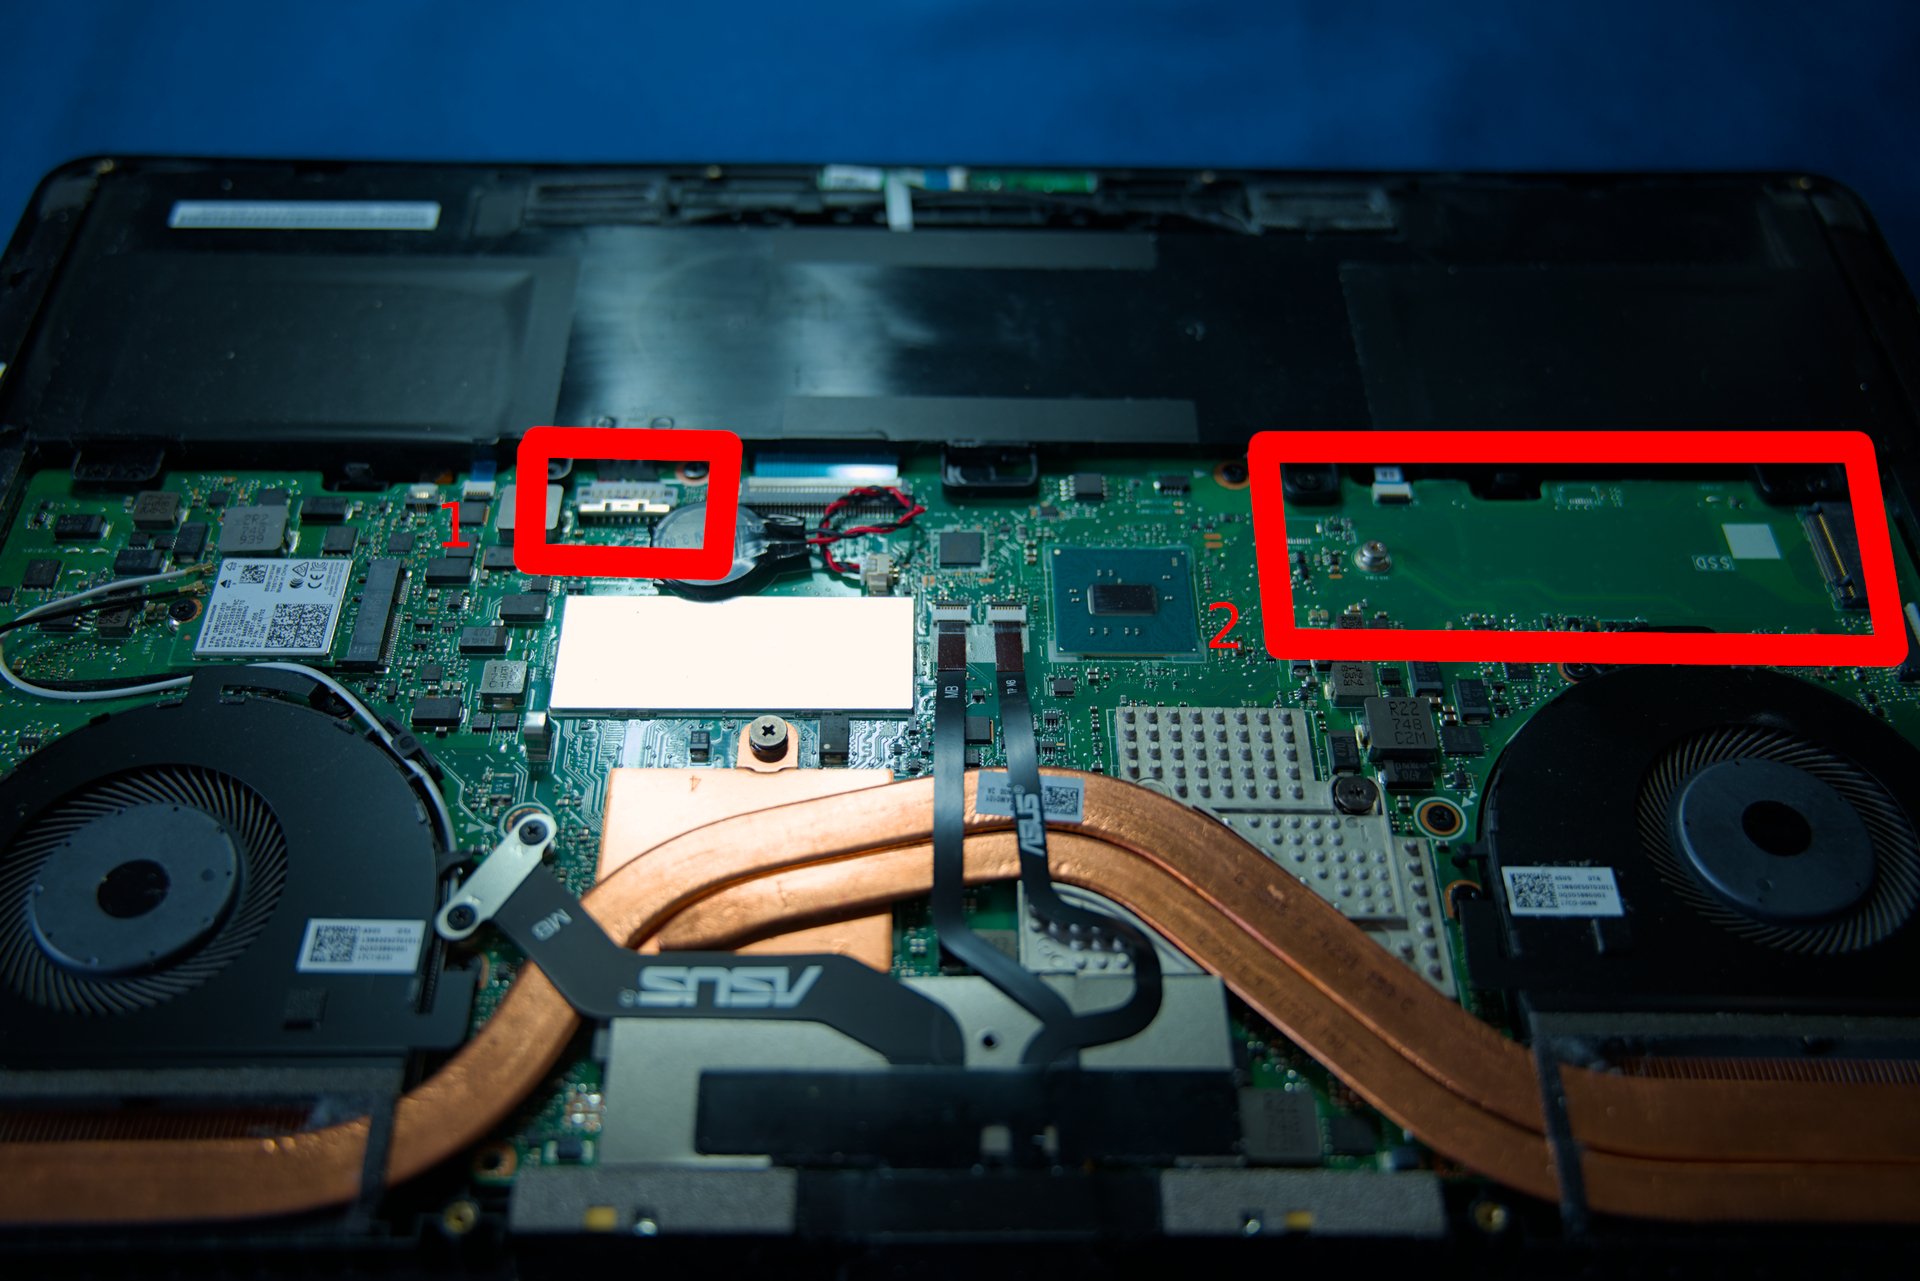
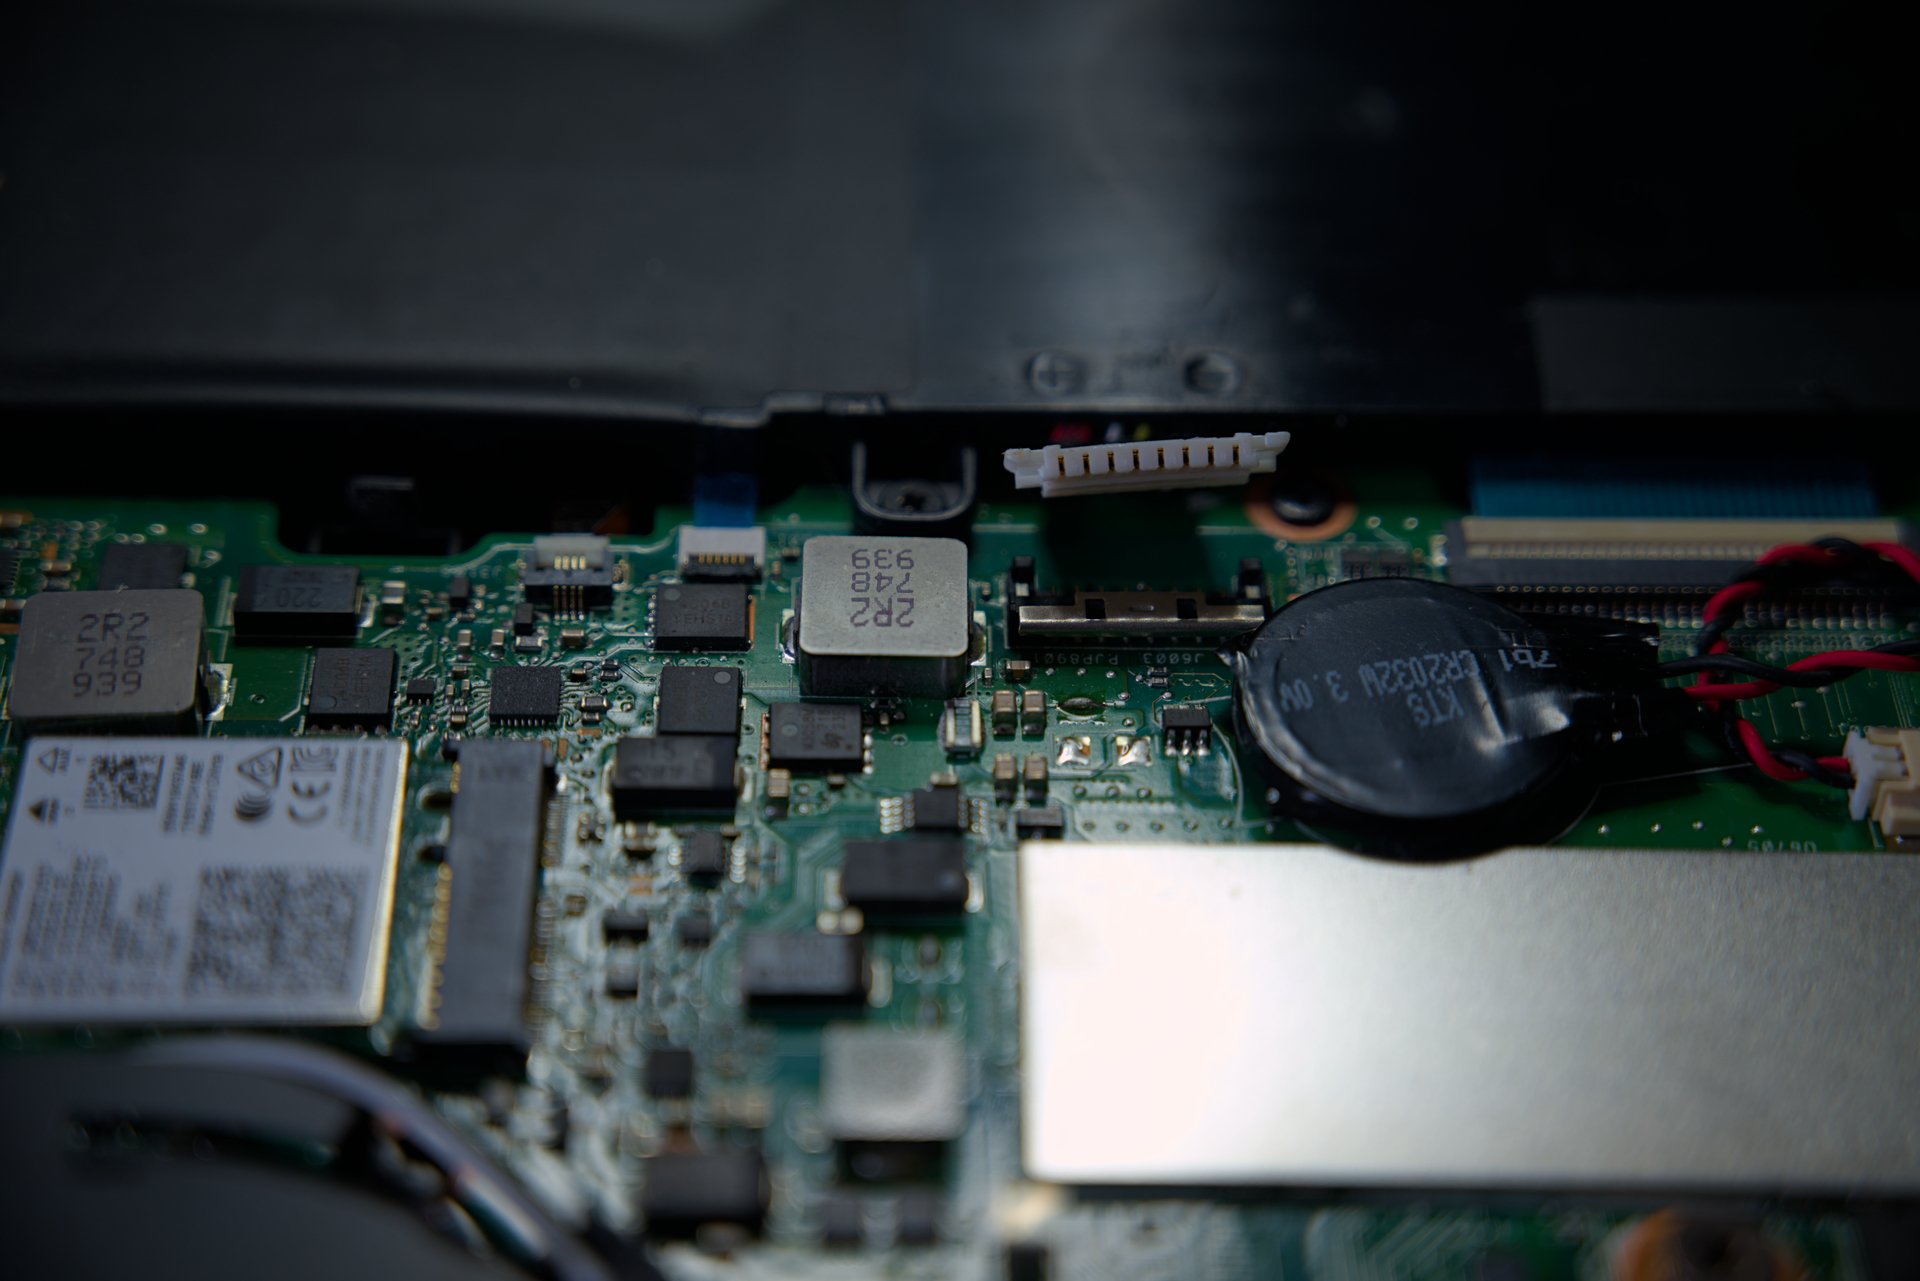
I hope you enjoy some electronics porn.
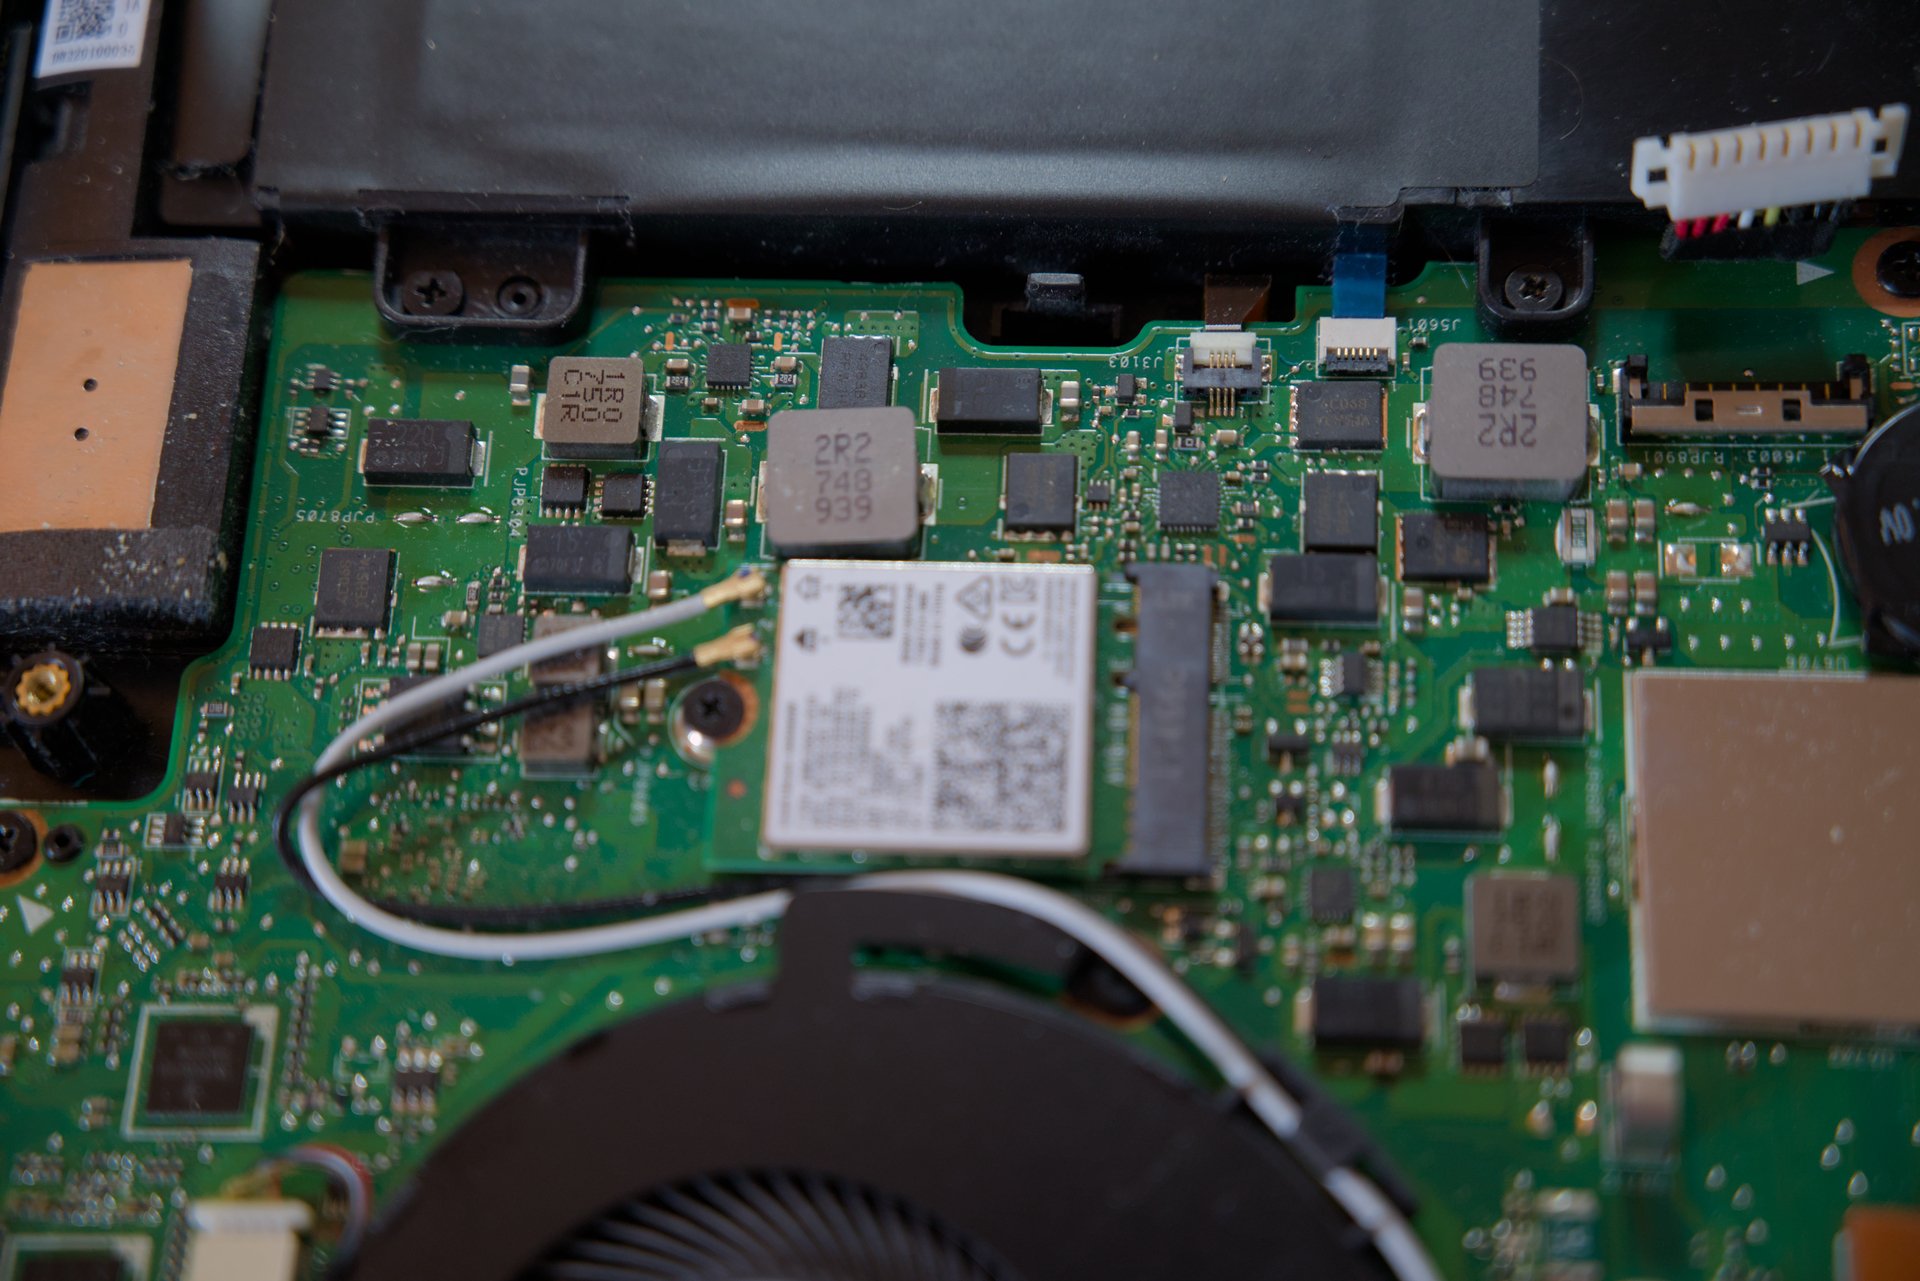
I’ve highlighted the parts that will interest us :
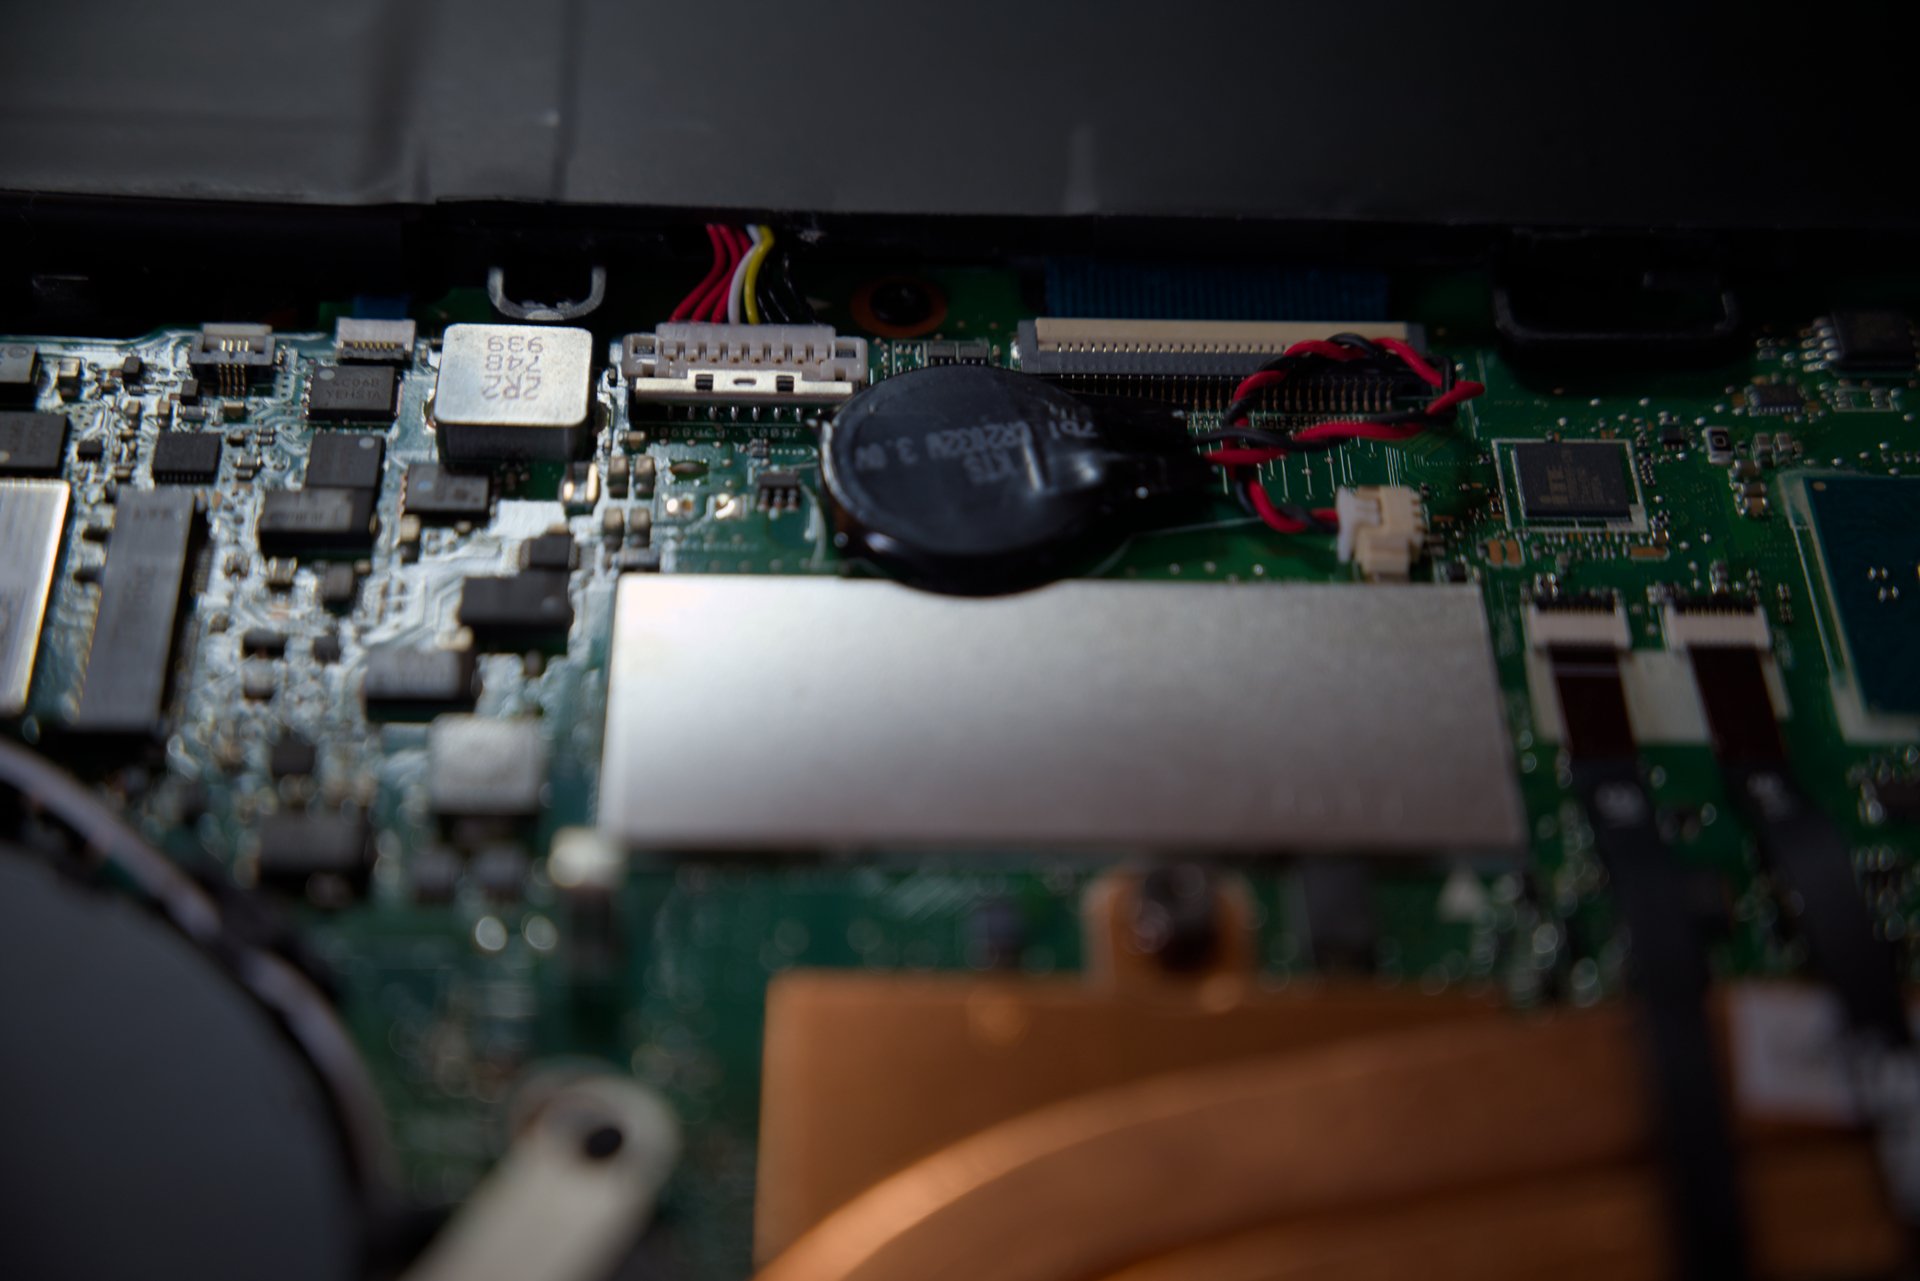
- This is the battery connector. The battery is the long black piece in the background.
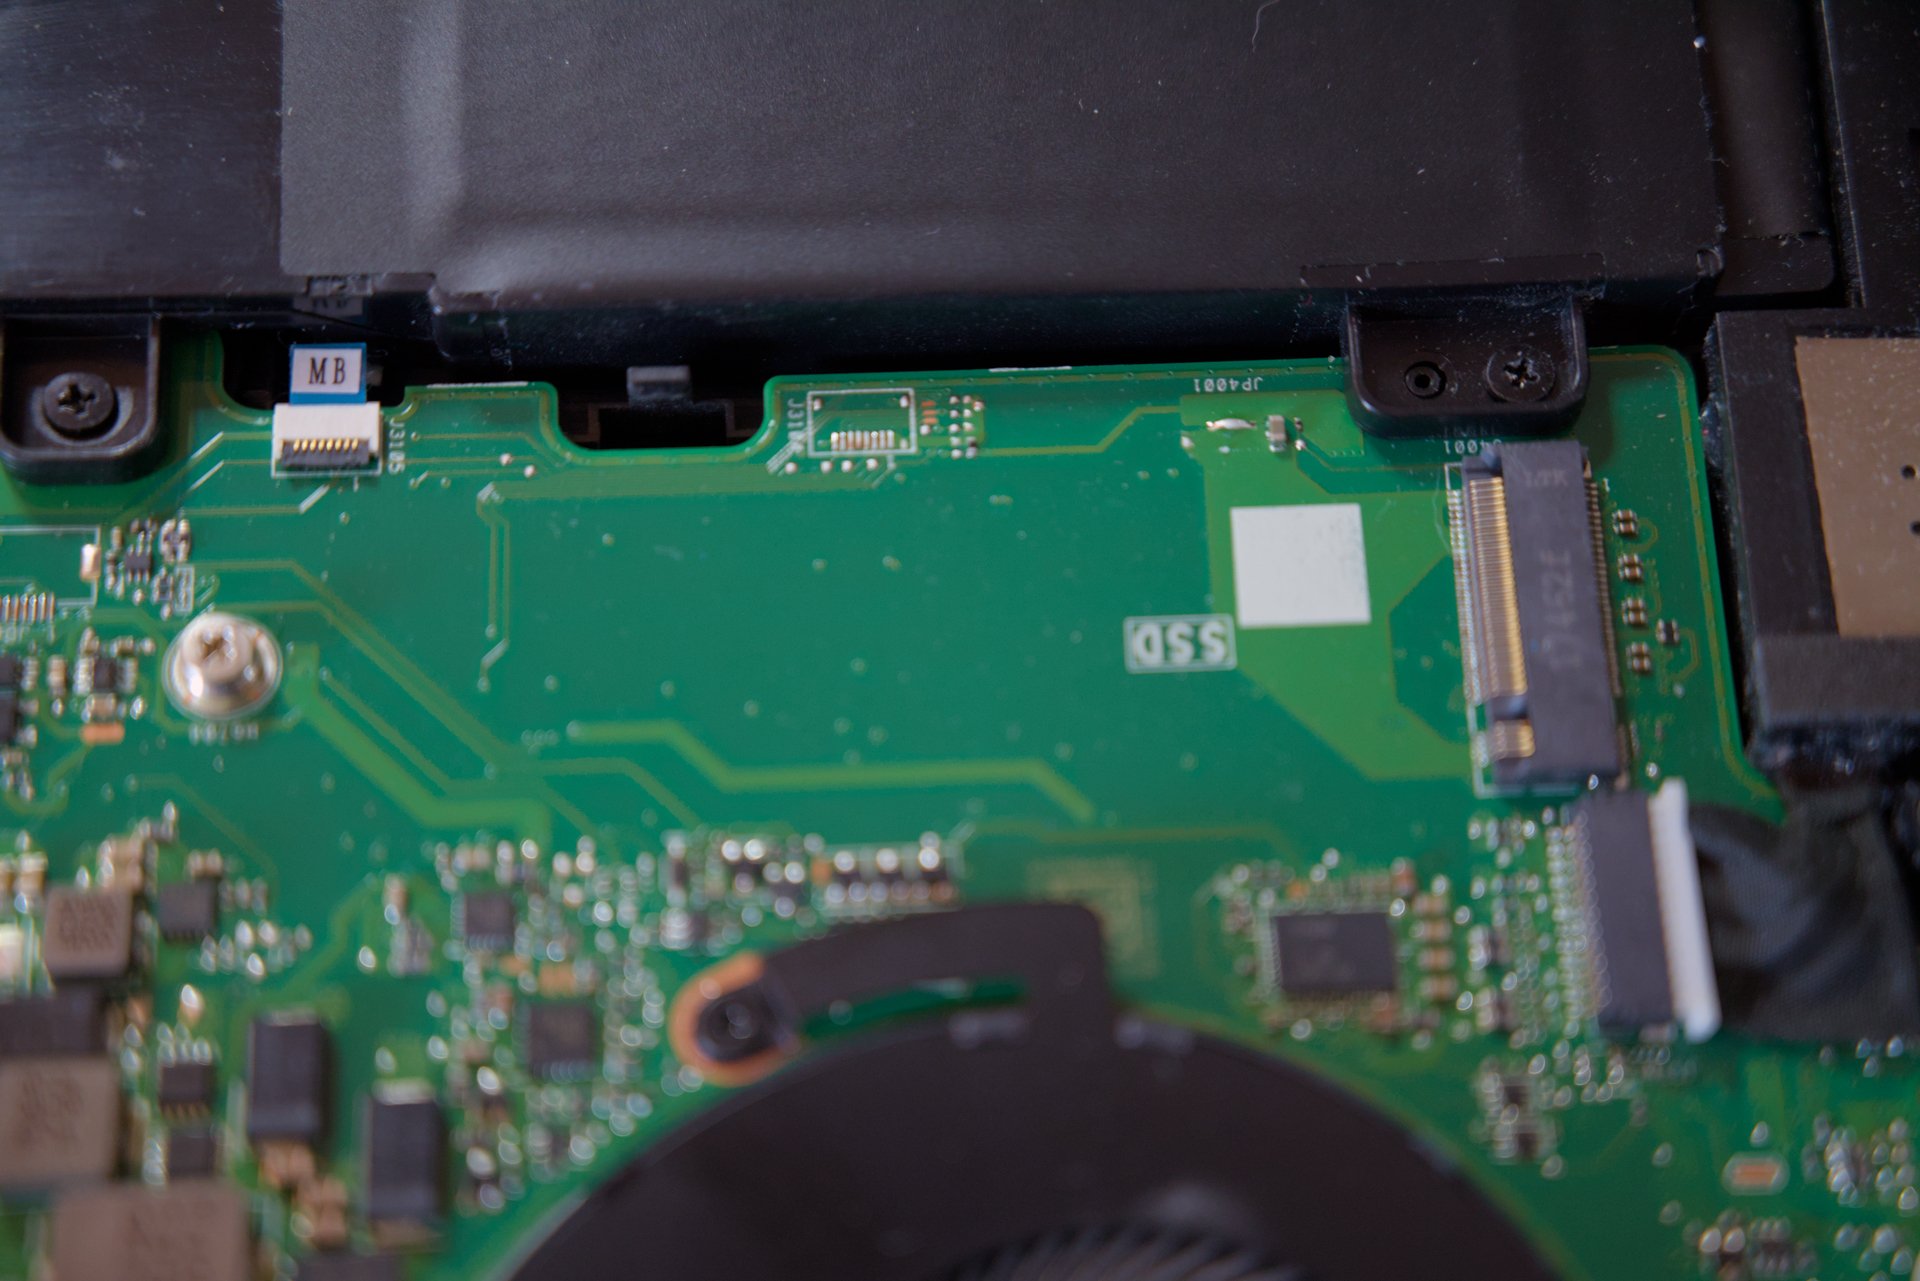
- This is the SSD port
As you may noticed, the SSD is already missing in this shot. That’s because I’ve removed it before taking the photos.
Disconnect the battery
For safety measures, and because we will have to remove it, we start by disconnecting the battery. This part is really easy actually.
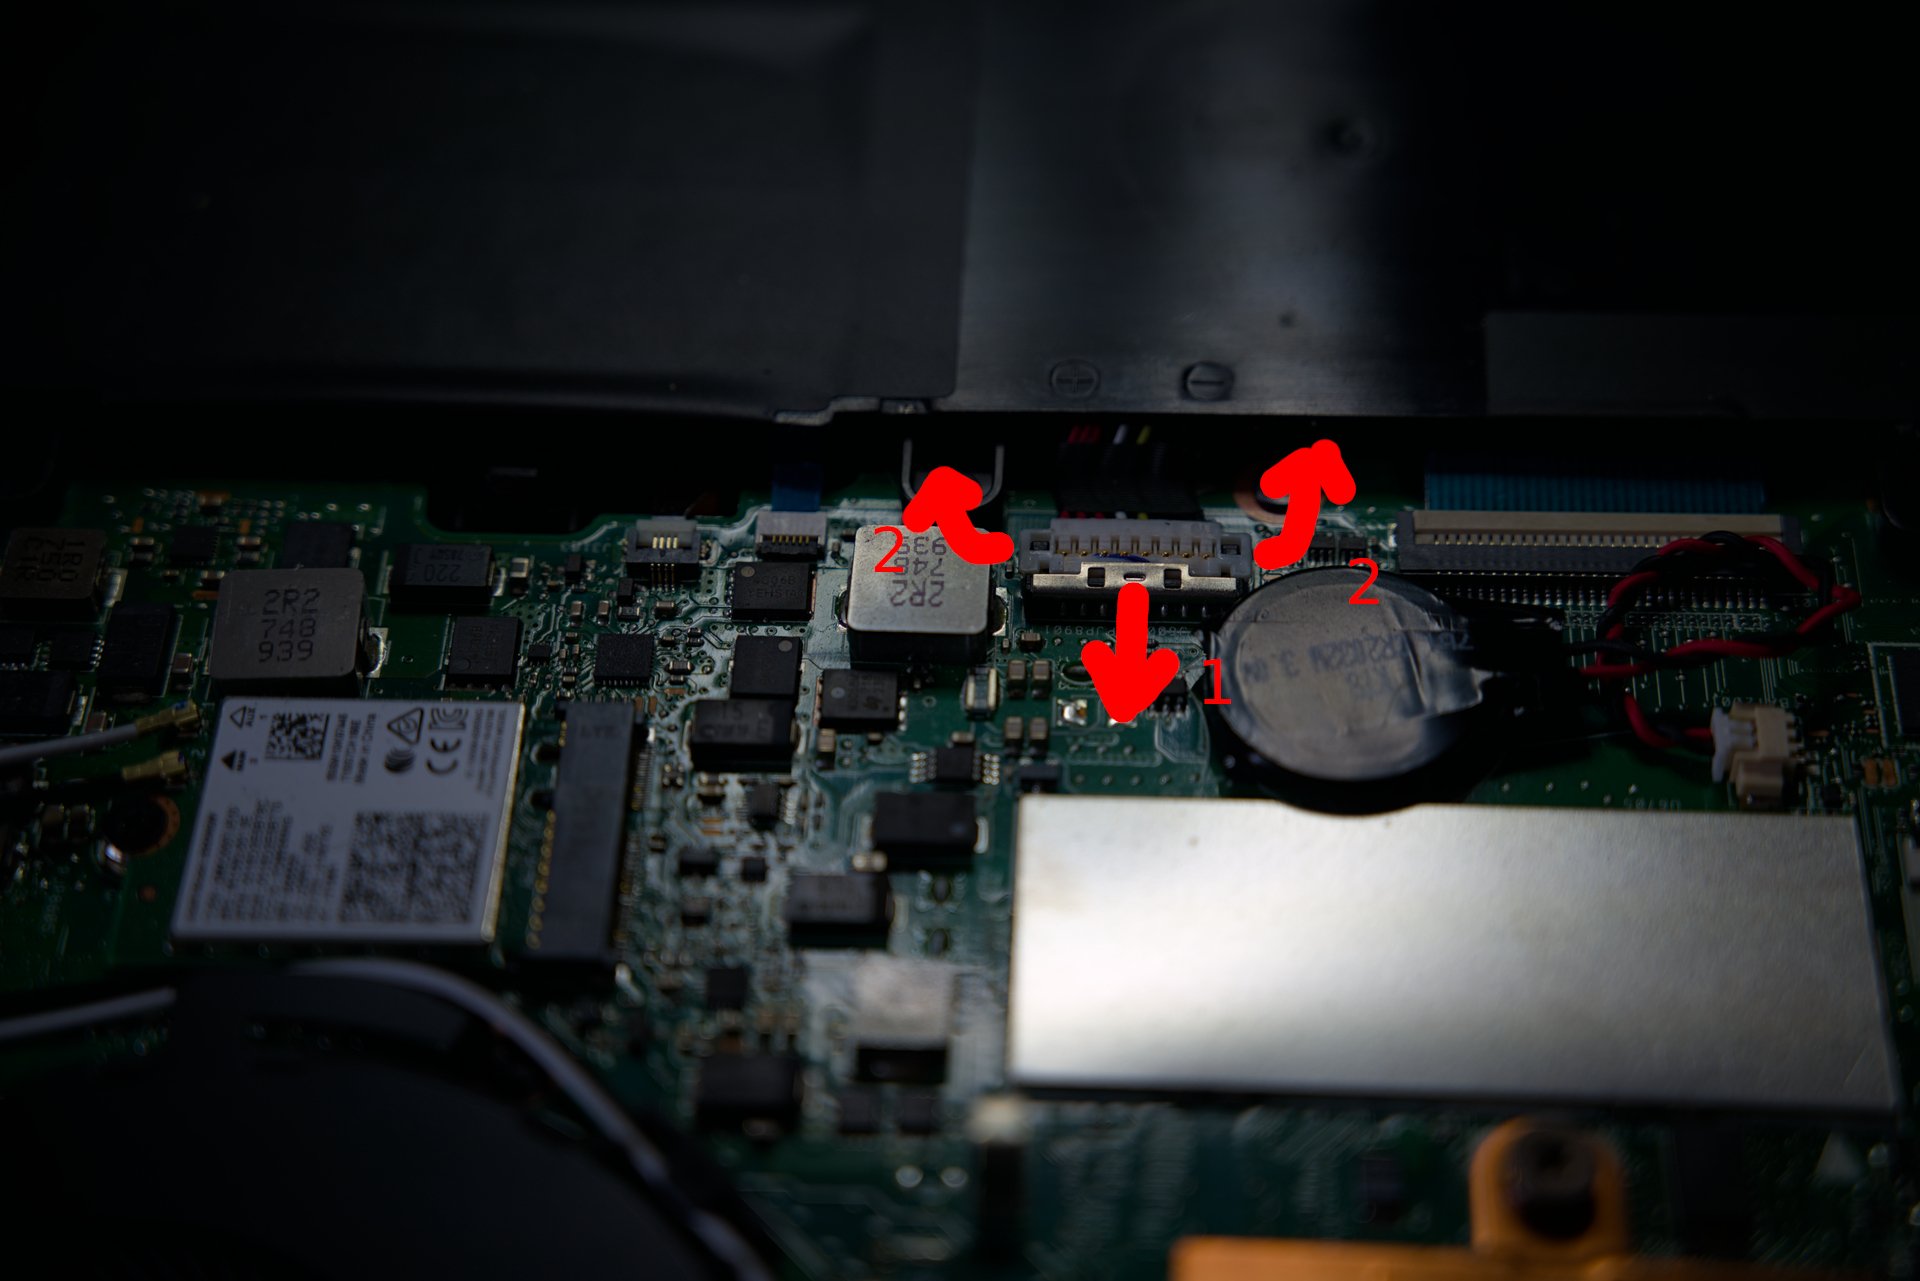
First, pull to you the metallic piece. You can do it with you finger nail or a plastic piece such as the tip of a pen for example. Once it’s unlocked, raise the plastic connector. If you’re uneasy to touch it with your finger nails, you can use a wooden/plastic toothpick as a lever. In any case, I’ve preferred avoiding using a metallic tool.
Battery disconnected !
Remove the NVME SSD
The good news is the SSD is removable, what a relieve. The bad news in my case was the screw being blocked and damaged for reasons I ignore, this laptop has never been opened before.
First, remove the ⚠ sticker with a tweezers to unveil the screw. It’s a Philips cruciform, quite standard. Be careful, the sticker can be well attached, I’ve had some difficulties.
Then, if the screw is not damaged, remove it. I’ve had to ask for a friend’s help to remove be, with a pincers. An extreme case and since the SSD had no interest to be recovered, damaging it was an option. Fortunately, he was able to untie it without damaging the SSD card.
Make sure you don’t loose this screw because because it’s required to fix again the SSD card. Since mine was damaged, fortunately, my friend had a very similar one in stock.
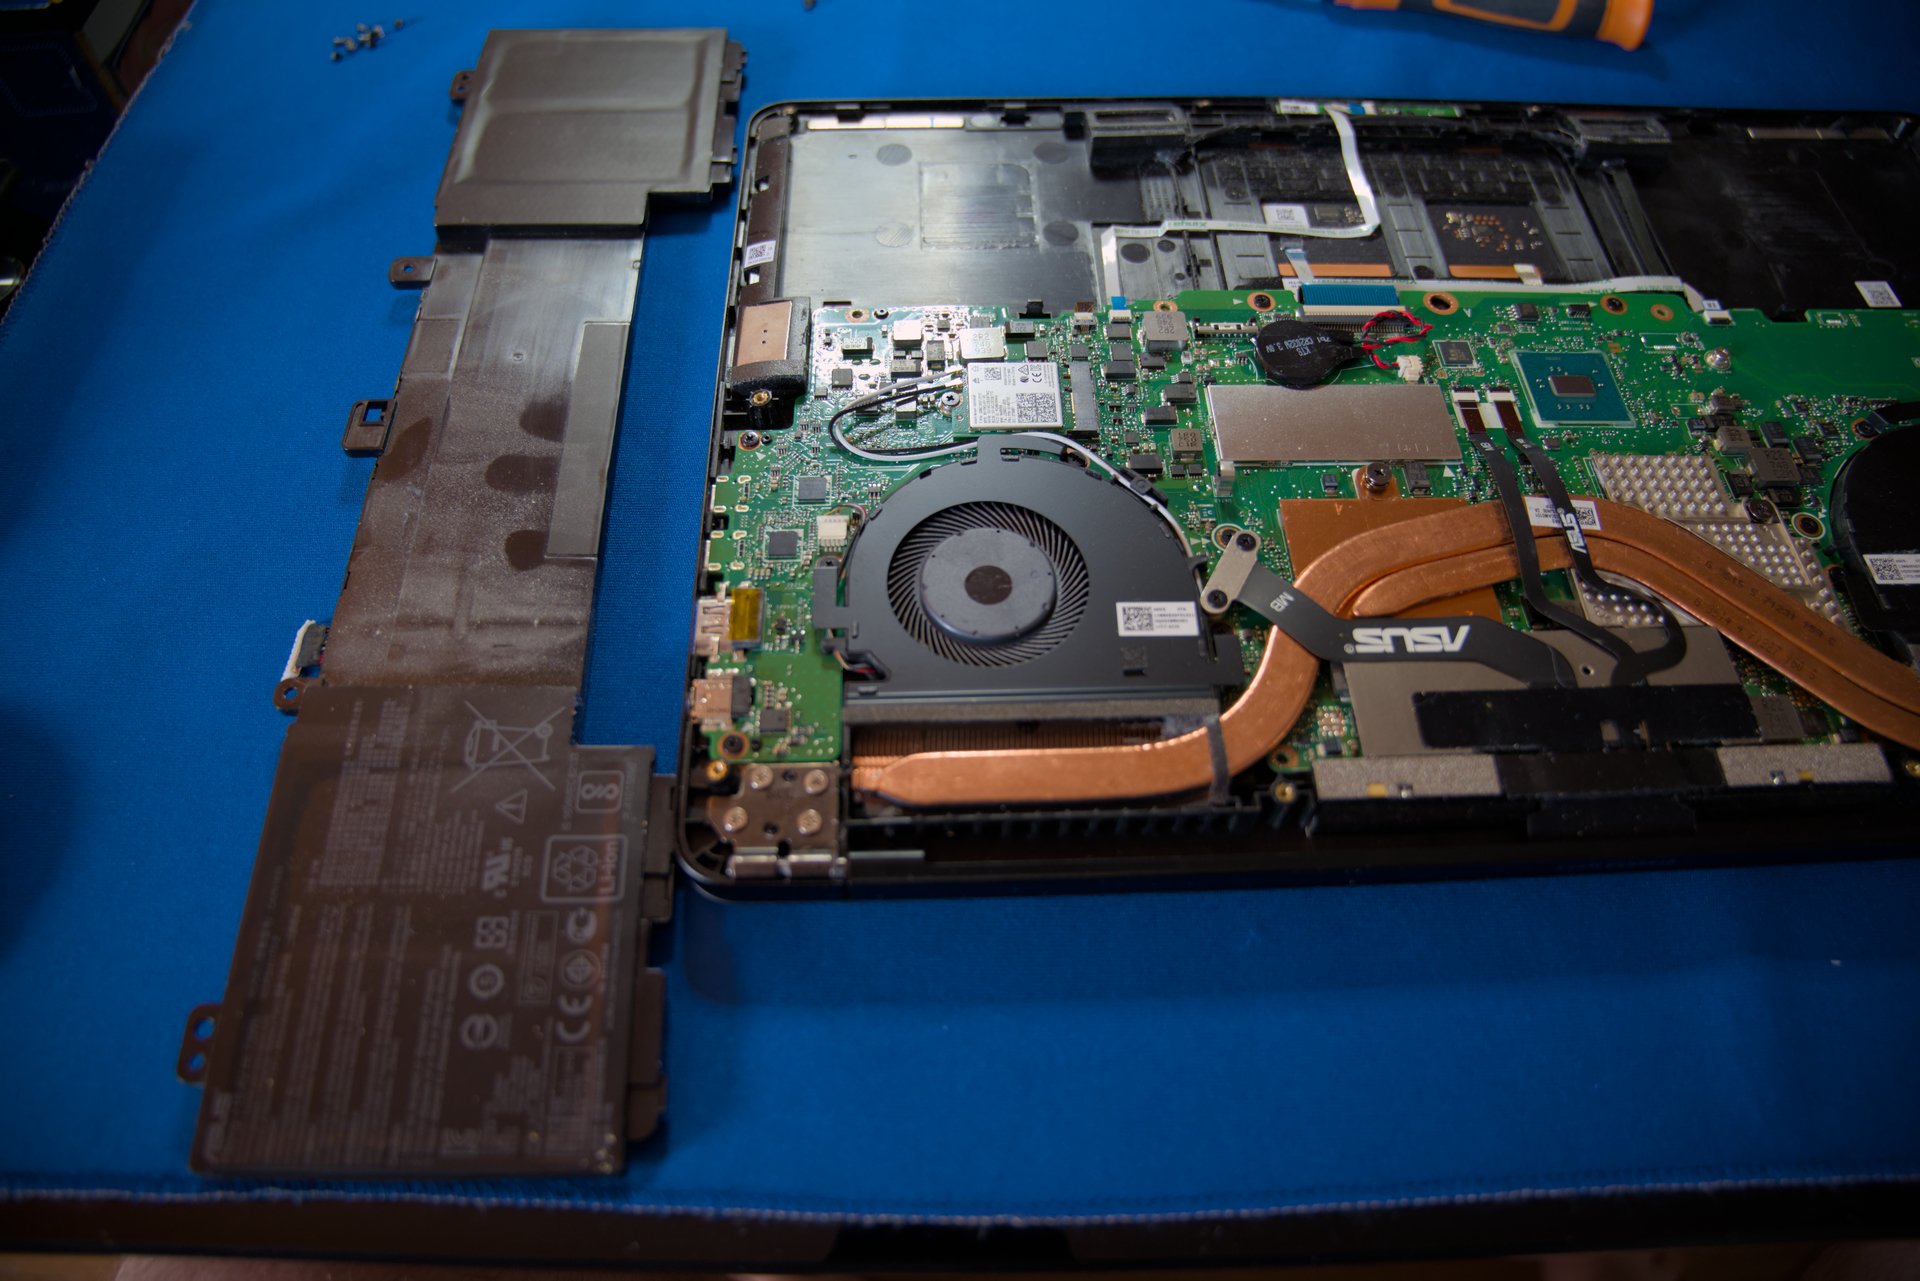
Remove the battery
Please remember that batteries are dangerous parts if damaged that can become a fire hazard. If for any reason the battery got inflated or damaged, ask to a professional !
The battery is fixed by five cruciform Phillips screws.
Ensure you’ve disconnected the battery before !
Now, just gently pull it away.
And here we are !
Batteries are recyclable ! Check your local waste disposal service for informations about how to properly dispose of them. Do not throw them away in your trash bin or in nature !
Install the new SSD
First, I’ve installed the SSD. It’s very easy, you just need to insert it with a 45° inclination in its slot.
Then, you fix it with the screw.
Install the new battery
Insert the battery with an inclination from the back, and gently put it on the motherboard.
Then, fix it again with the screws.
Attach the connector by pushing it on its support, and close the metallic lock.
The battery is now replaced and fixed !
And now…
First, put back in place the laptop’s case. You’ll need to press it on the borders, so you’ll hear a little clicking noise.
Fix it with the screws, and the laptop is now back on tracks.
It’s the moment of truth, I’ve plugged the power adapter.
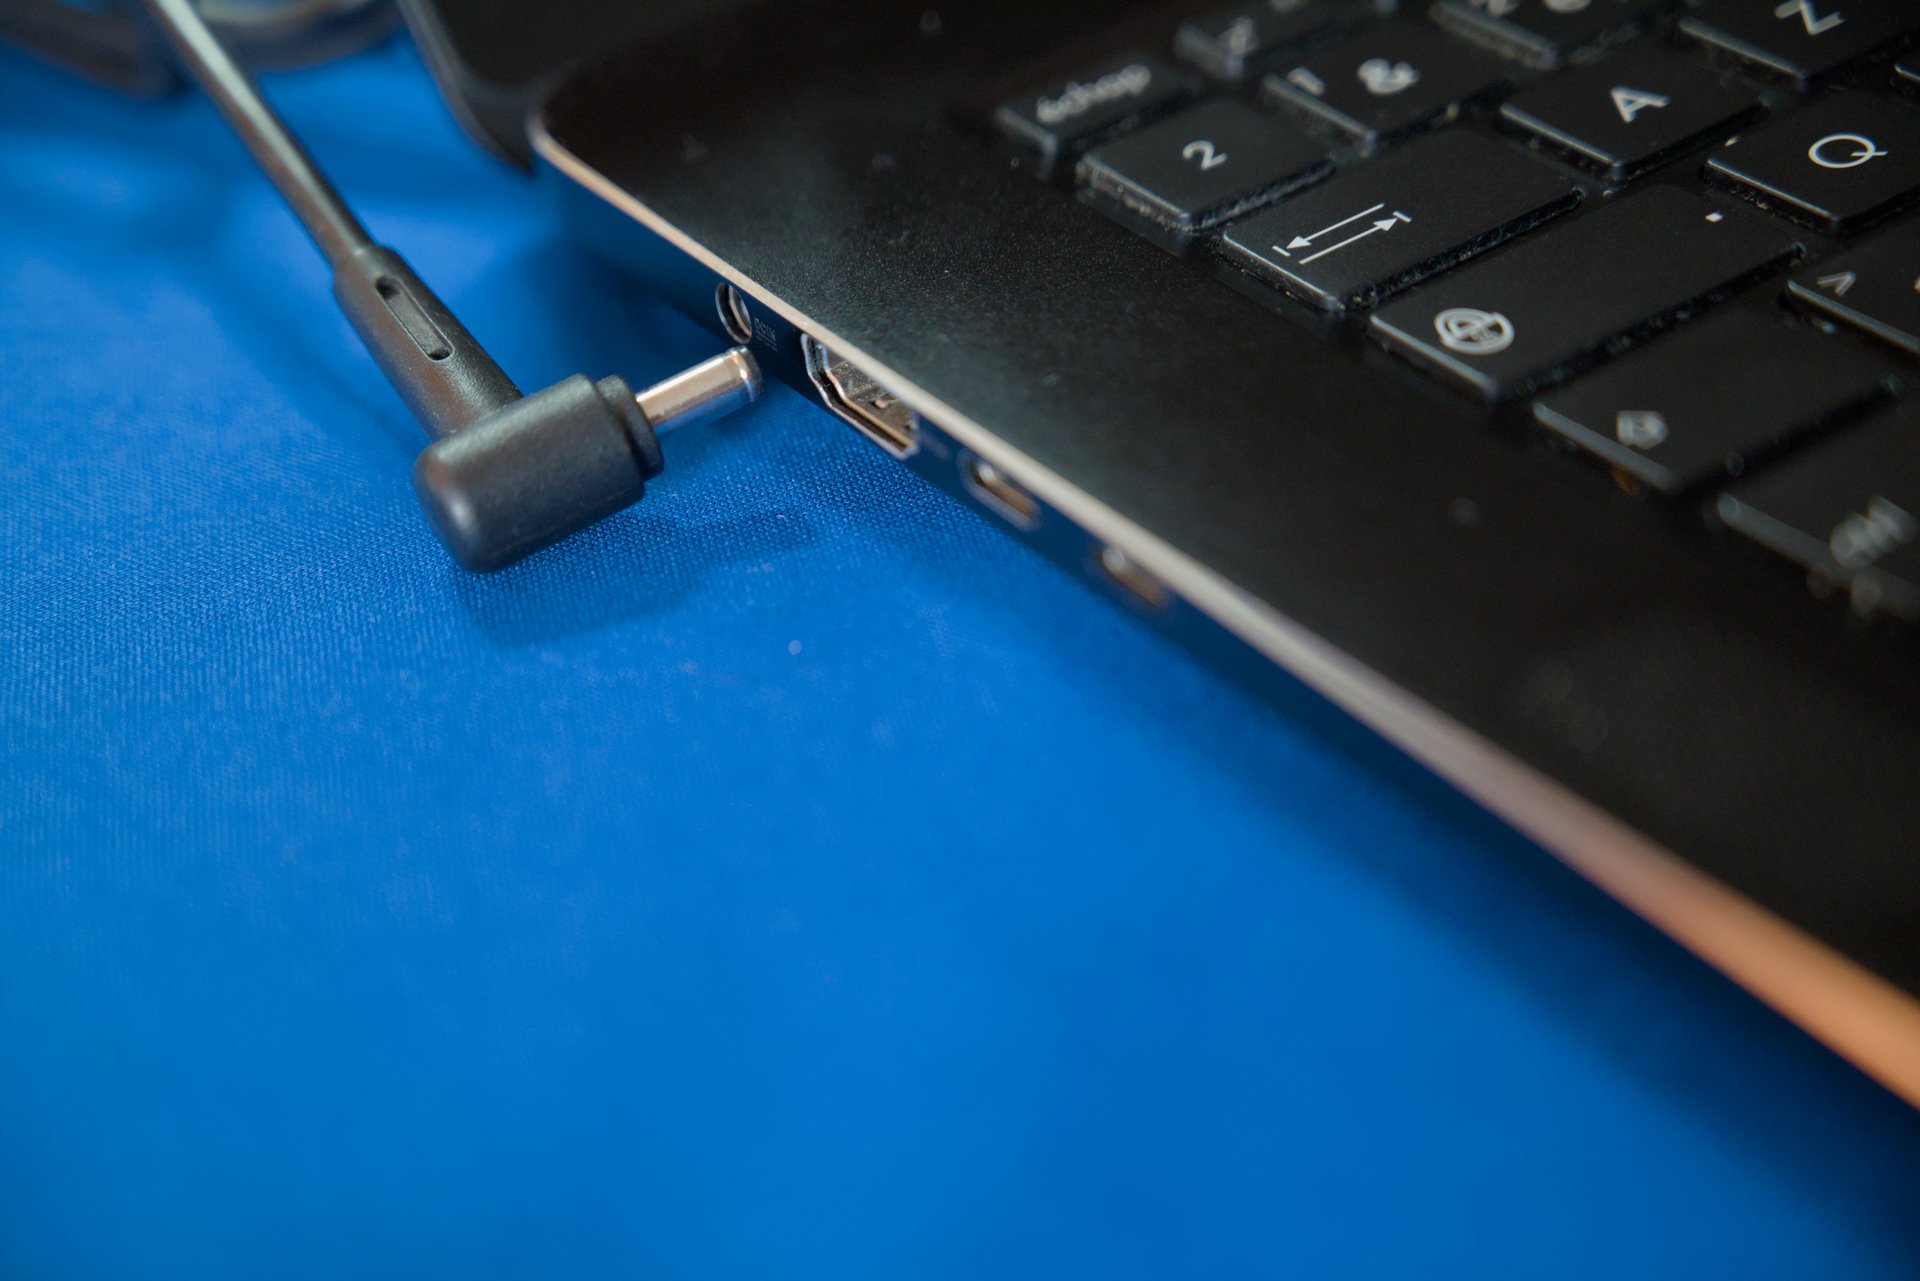
And the battery started to charge itself ! (the orange led)
And it’s alive !
If you know this laptop, you may have noticed the mate screen. I’ve put a filter on it because glossy screens are terrible for work. And I’m not narcissistic enough to love seeing myself constantly in the screen. This filter does not harm the effectiveness of the touch screen.
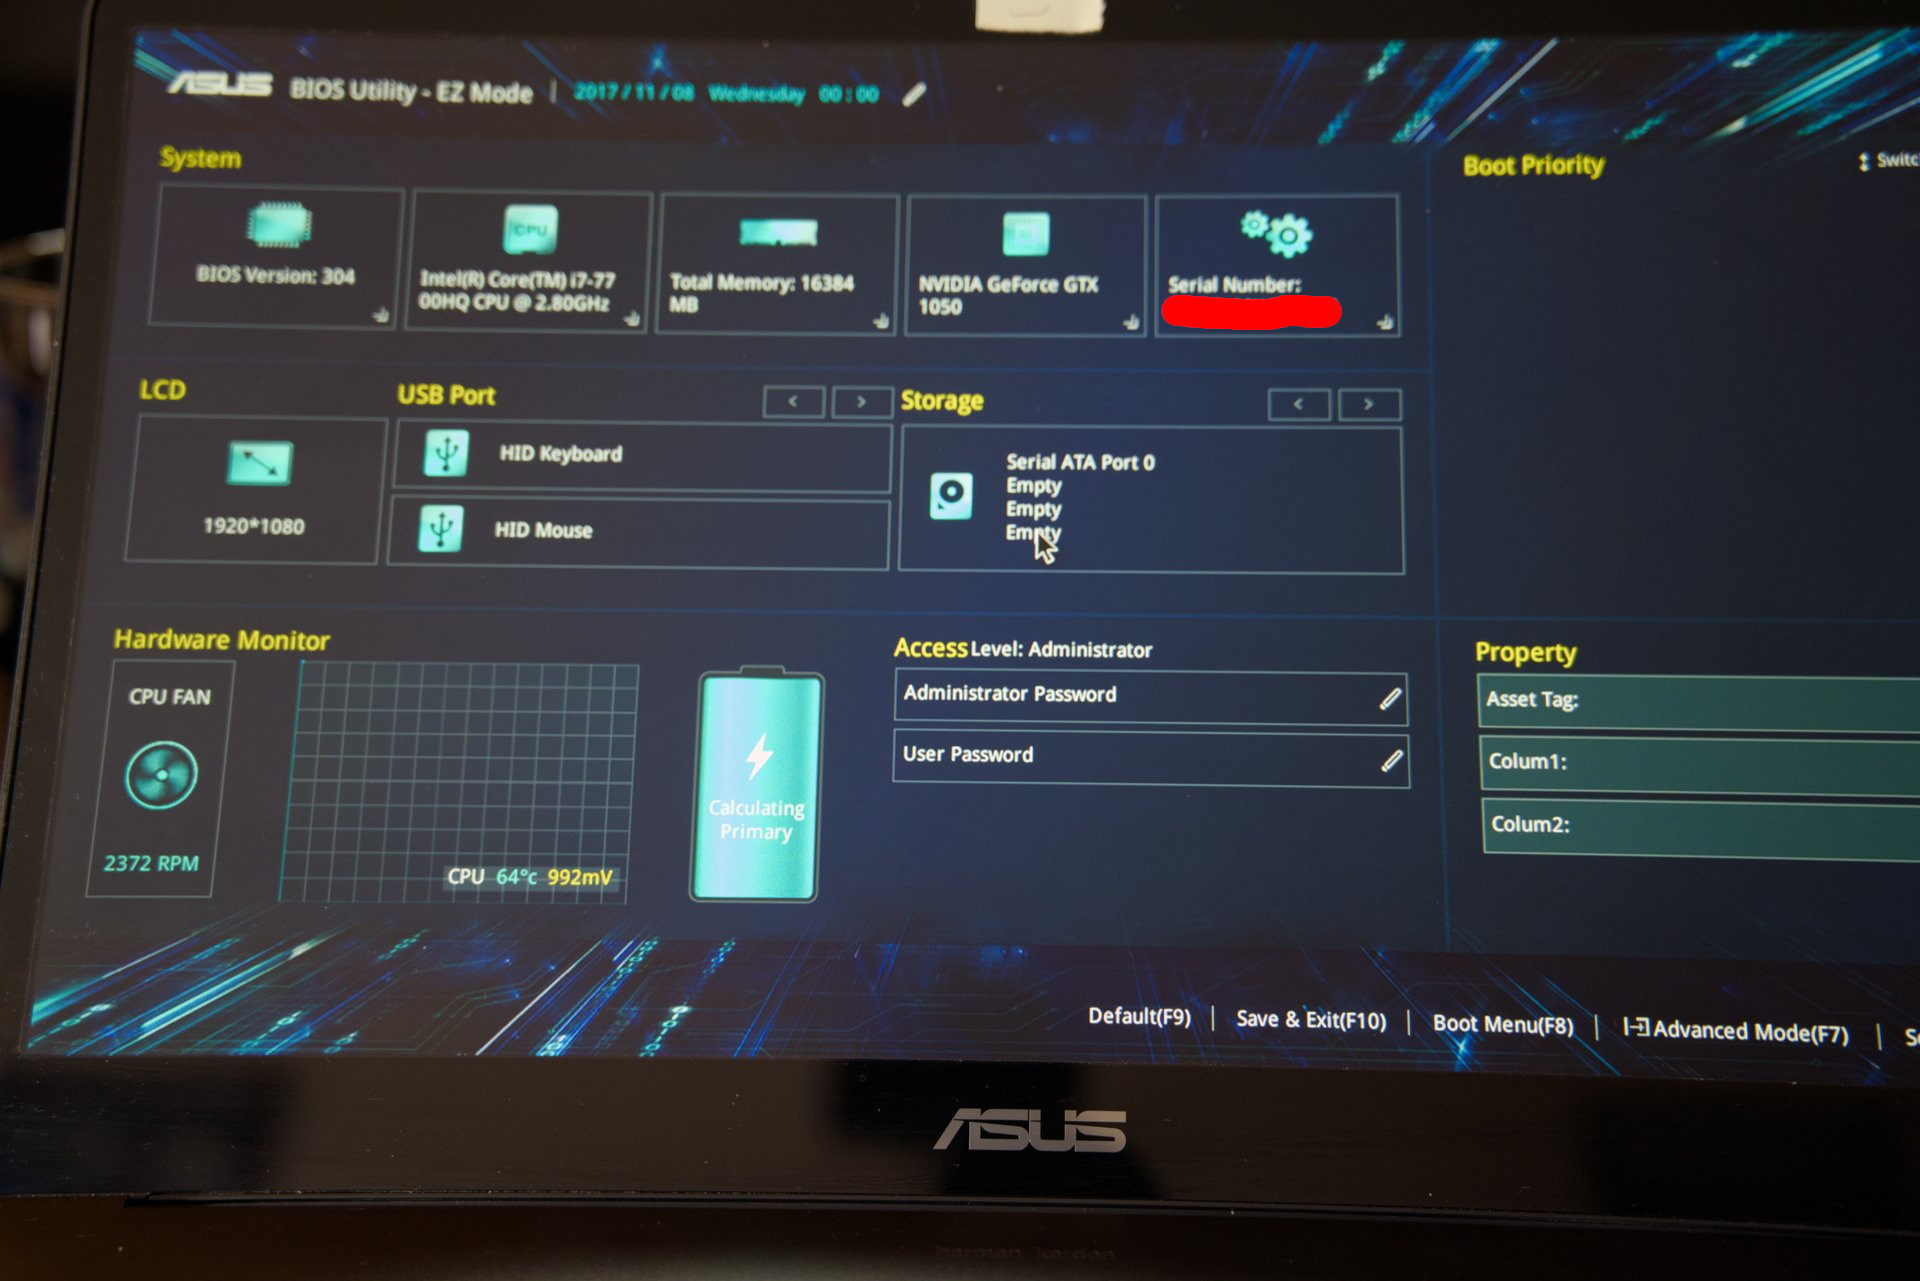
After a couple of seconds, the UEFI is able to render the battery current load. The SSD is also available in the storage devices.
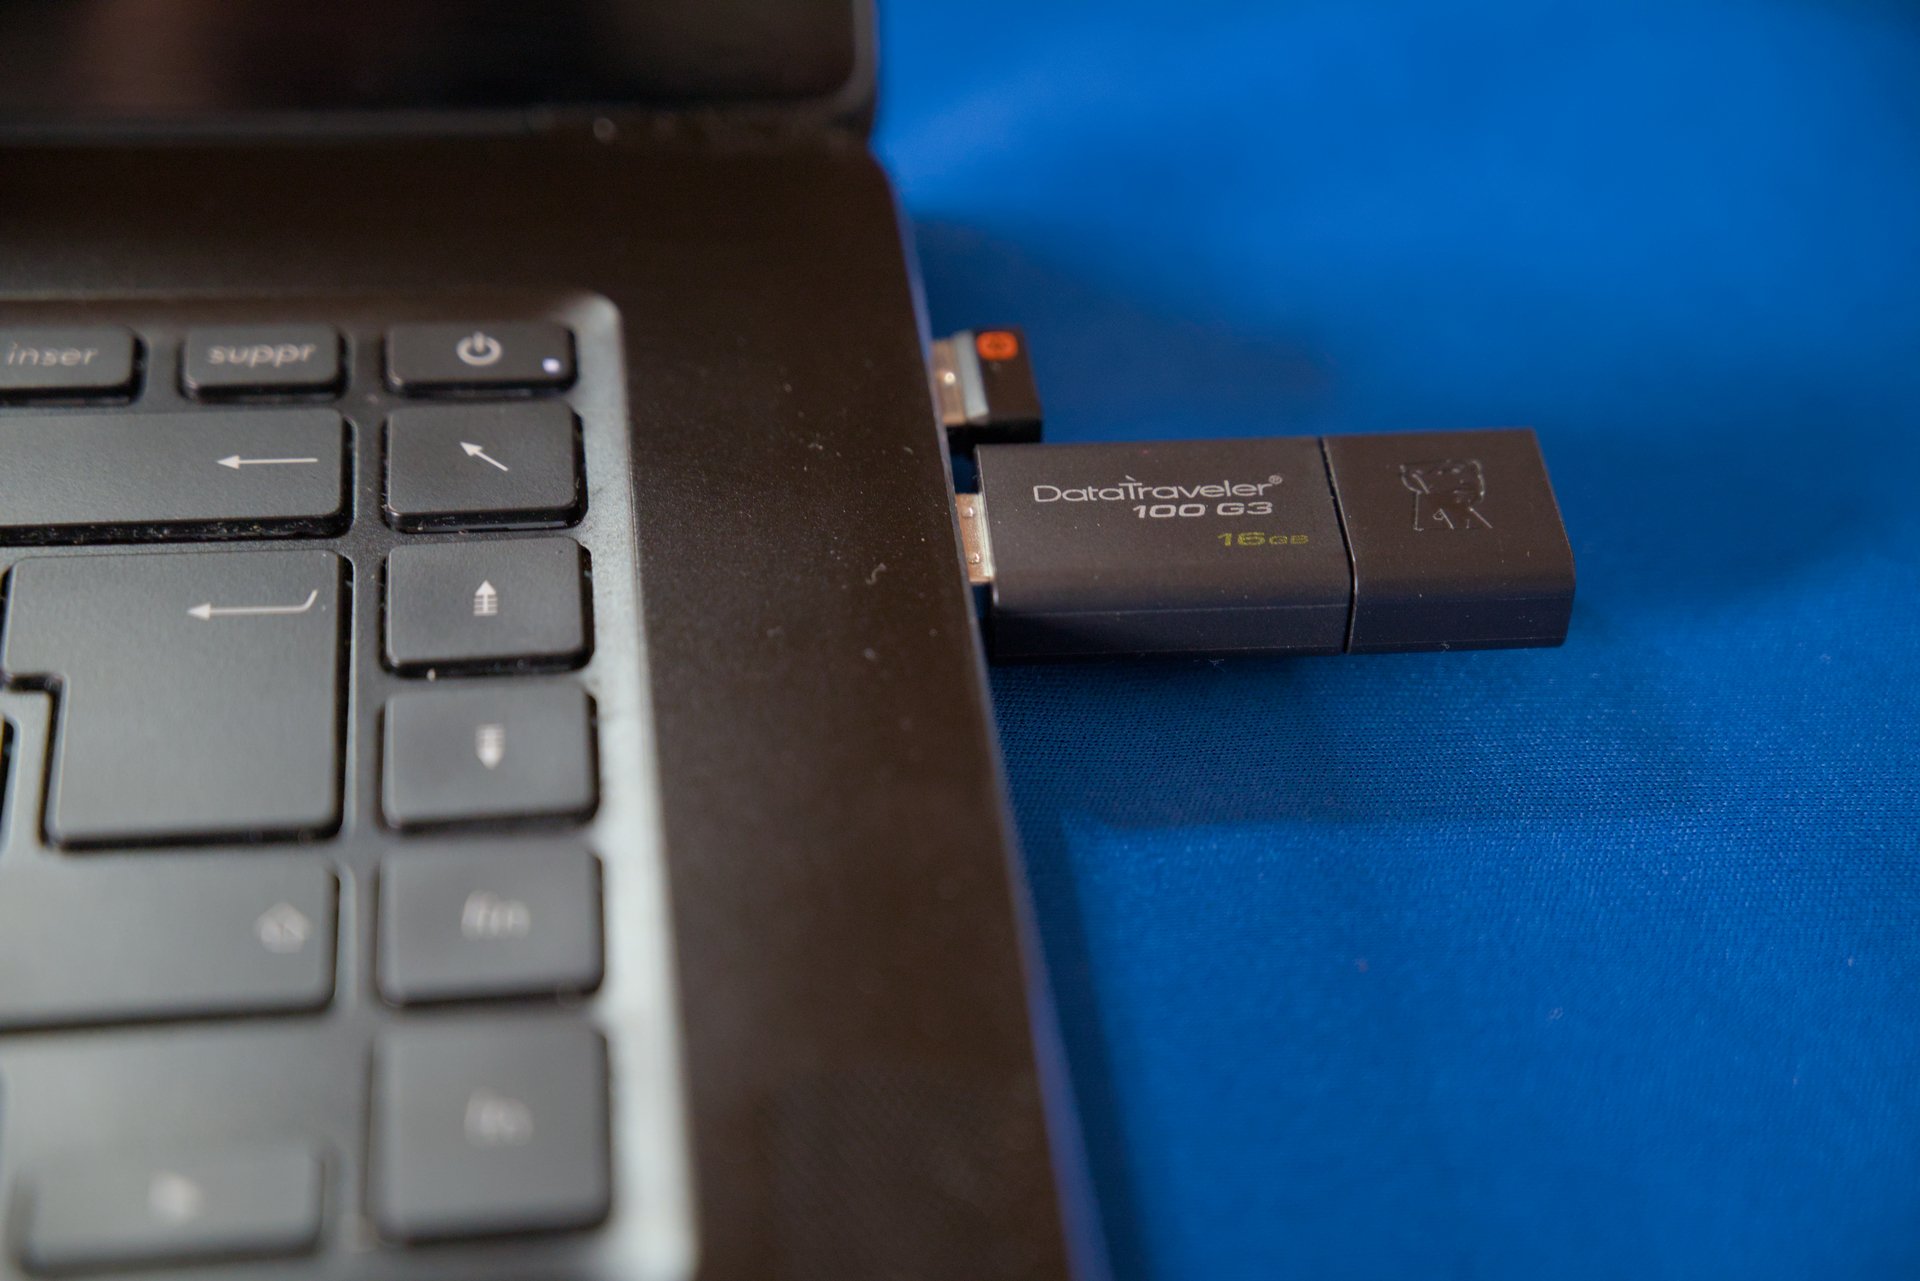
So, I’ve inserted my USB key with the Manjaro Cinnamon edition (my favorite Desktop Environment), and let’s rock baby !
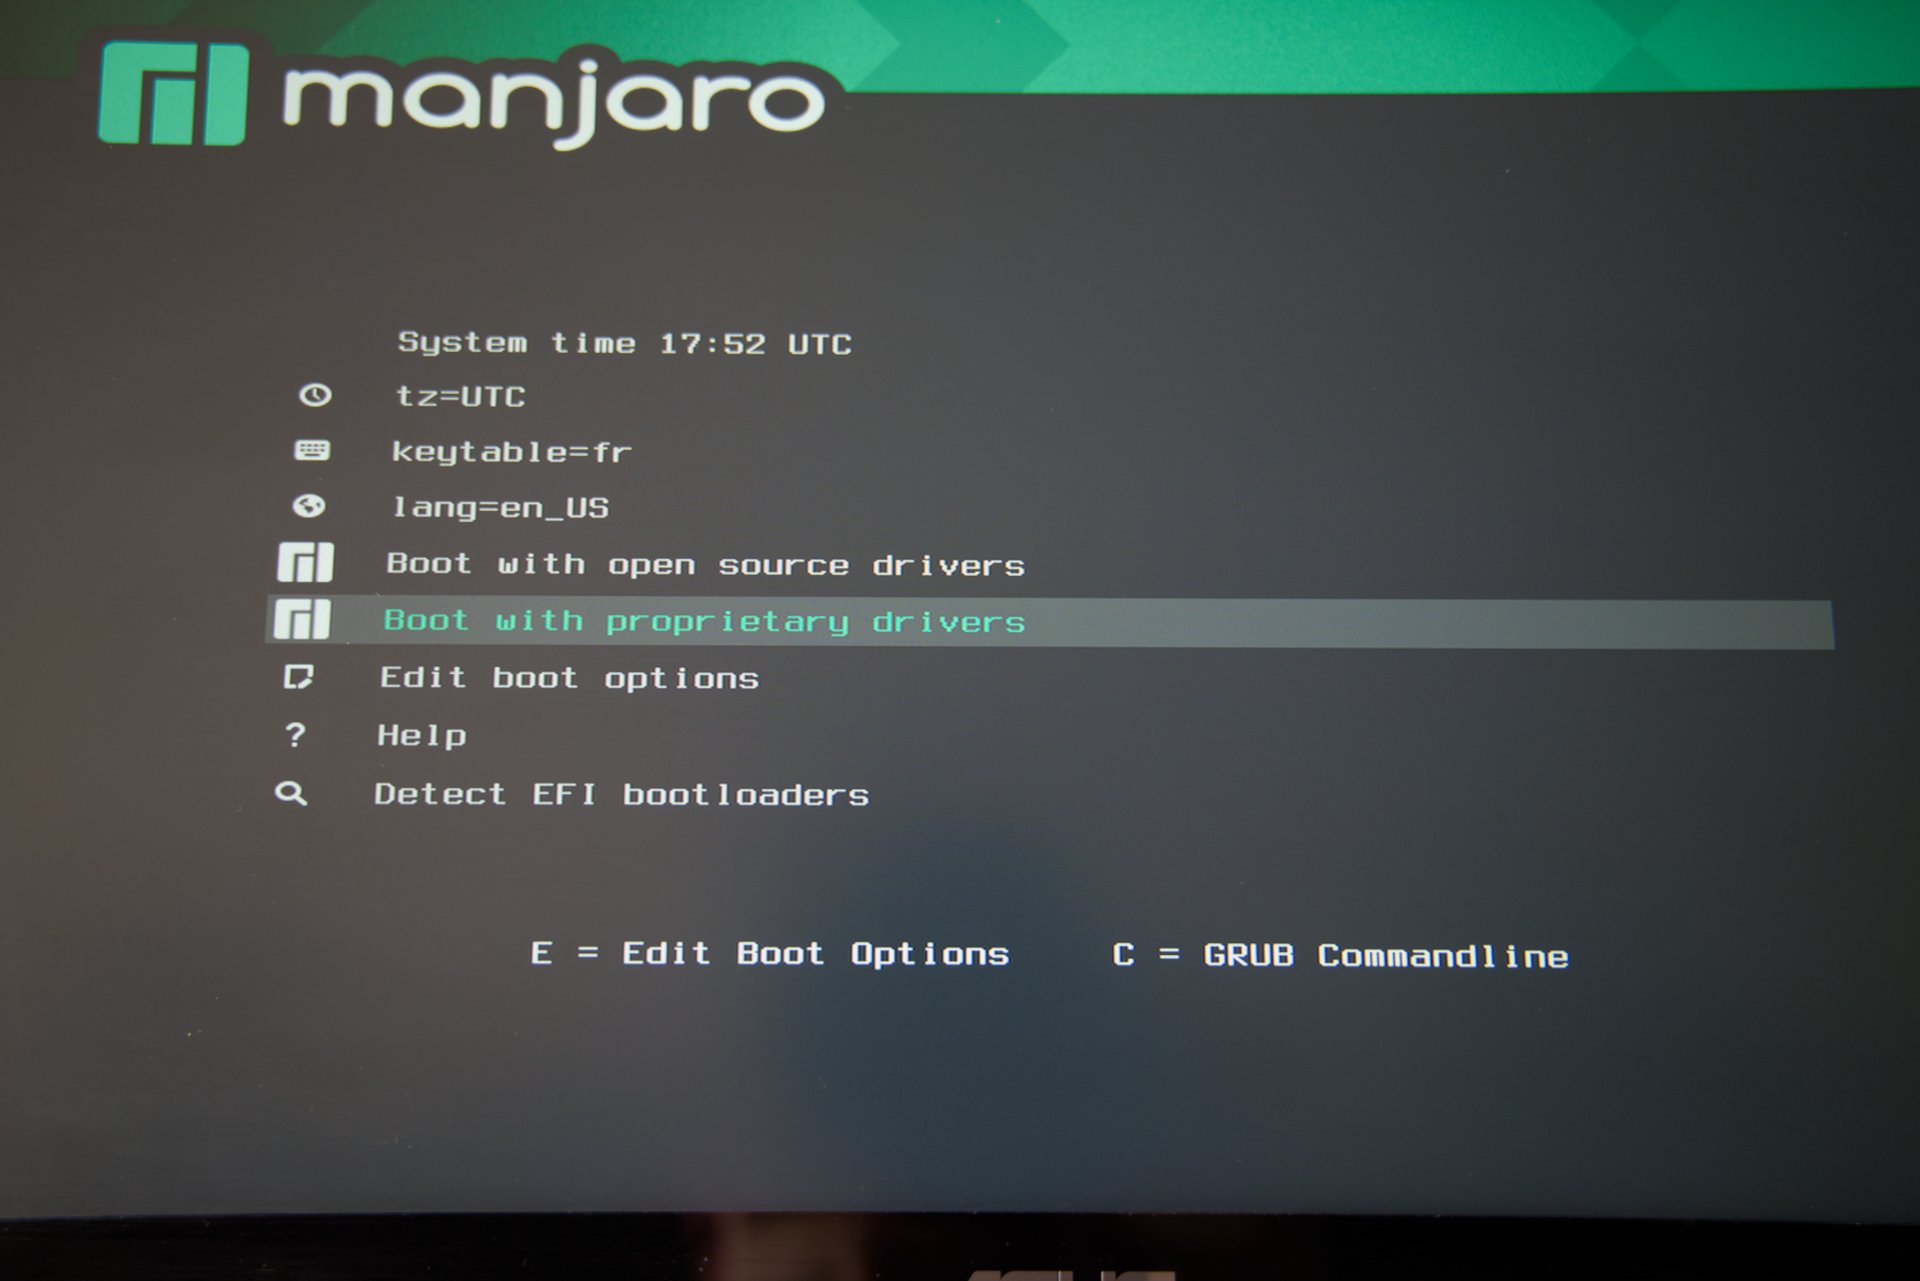
Since this laptop has a Nvidia GPU, I use the proprietary drivers.
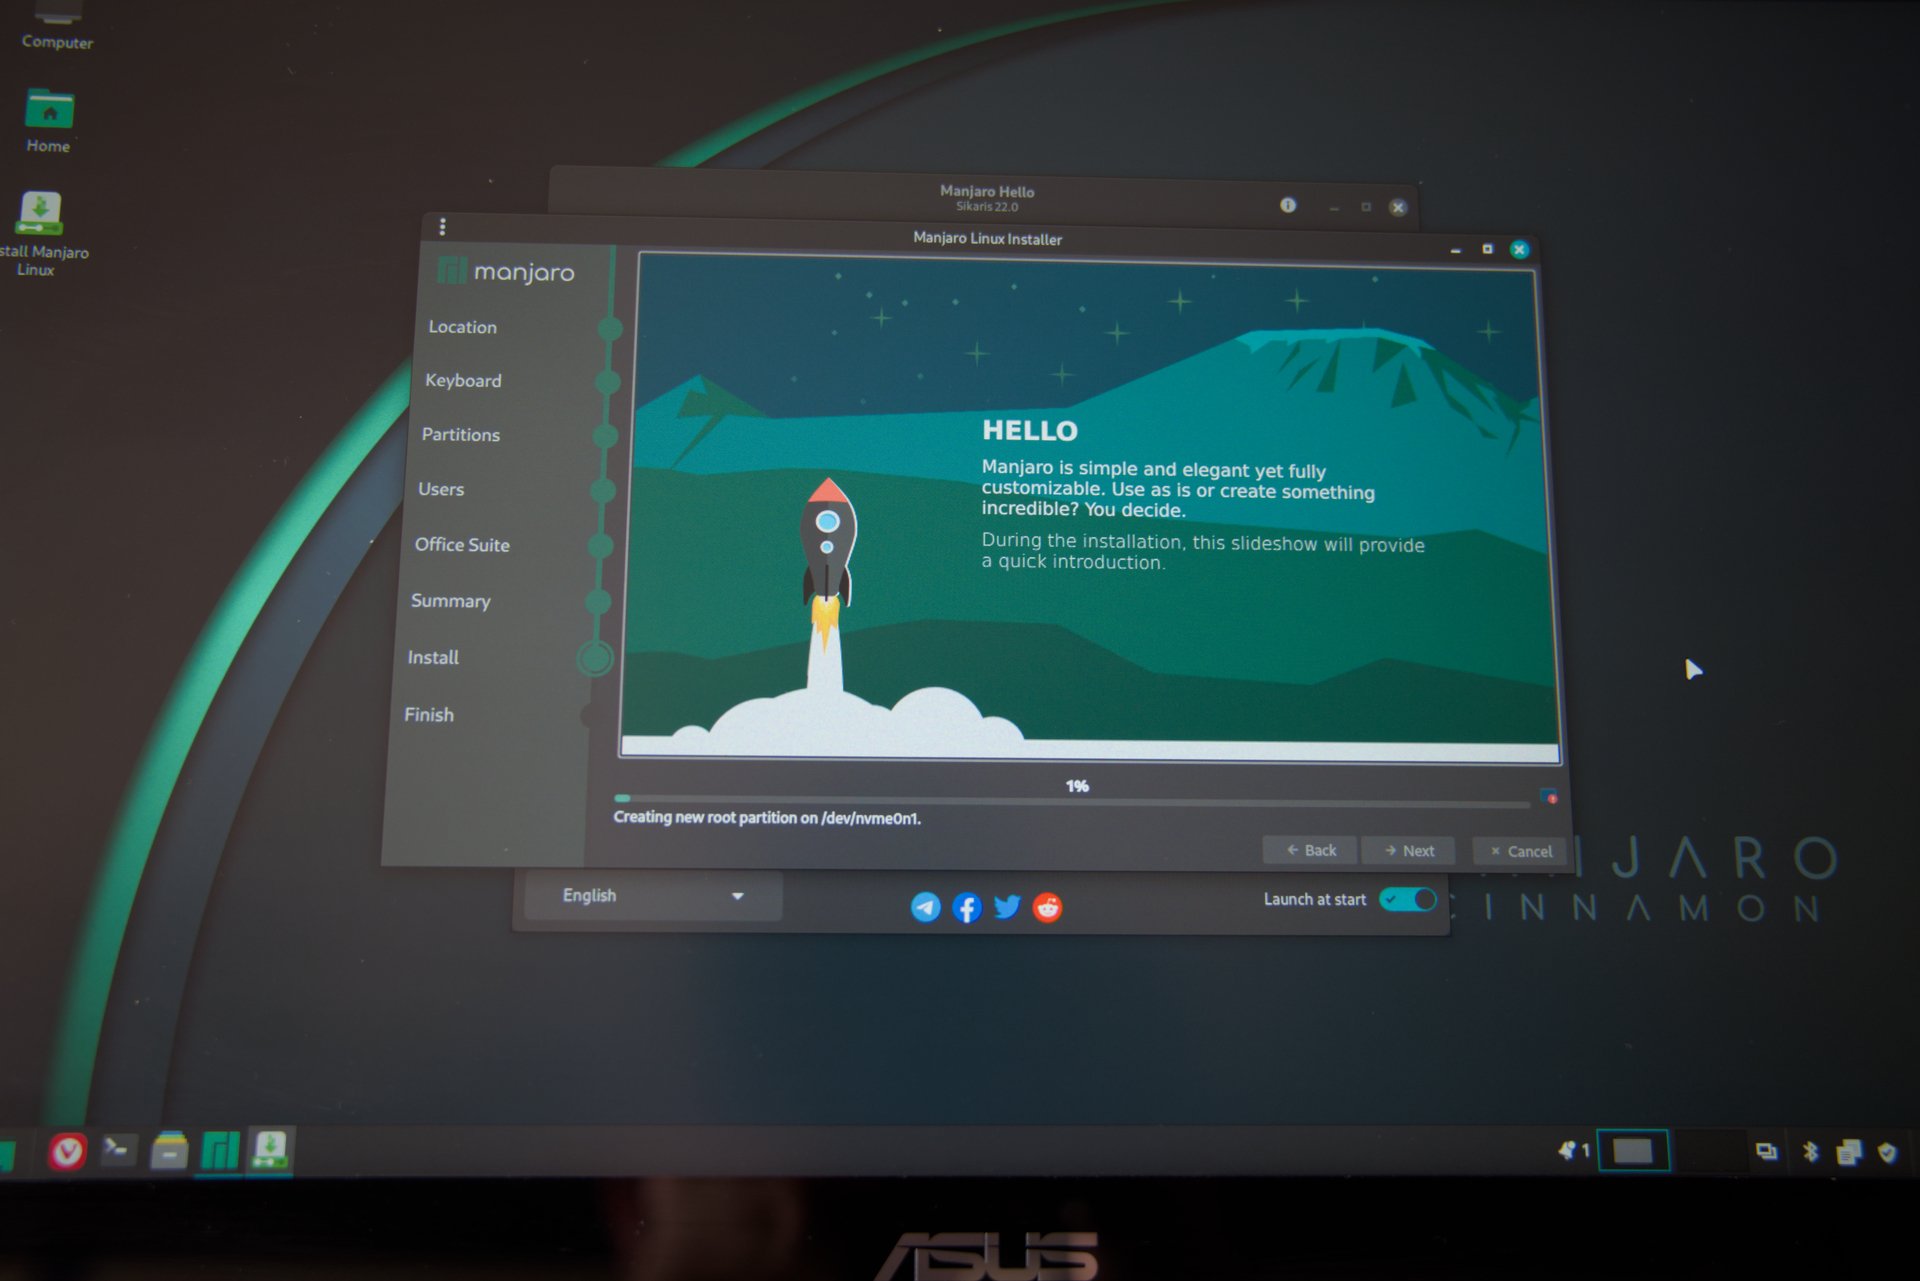
And here we go.
Conclusion
Well, I was happy to see that this laptop has been easier to repair than I thought. Since this model has been choose because of its lightweight (1.8kg) and its performances of its time, I feared the SSD to be directly on the motherboard and the battery glued like other brands. I’m glad I could repair it !
By the way, the spearkers sound issue I’ve talked about in the introduction seems to have been fixed. The fresh Manjaro install did not have this problem !